ttabs
Extreme
You clicked on this thread, now here's what you get.
The list is growing long as to the ideas I have along with others for fixin' up our Nytros. What I want to do here is discuss ideas, post mod installs, and open up discussion on how these mods perform and can be improved. If you have an idea or an install to share, lets get it on this thread for everyone to evaluate.
The bottom line is let's take these Nytro's to the next level. We can discuss suspensions, Turbo options, performance, and reliability, weight reductions, and the list will go on.
So without further ado, let's roll up our sleeves and get to work ......
ttabs
Extreme
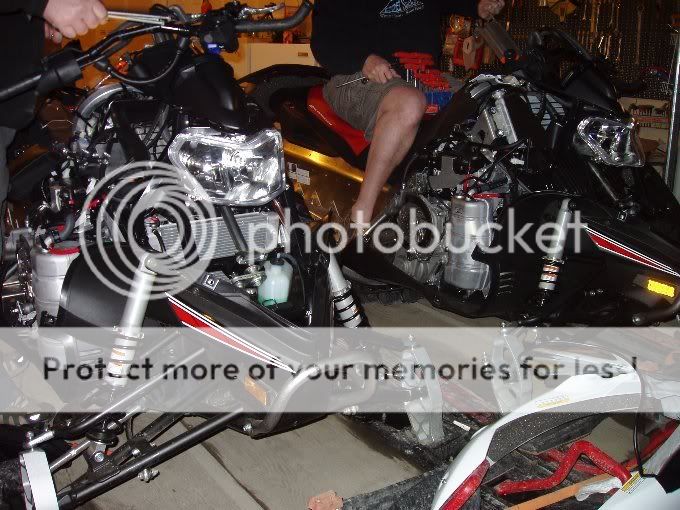
First things first fellas - I ordered up my new FX and had it outfitted with a 10 lb boost kit from NW Turbos who are located in Bozeman MT. You can check out their install here to see what their "kit" is all about. They can do the install in about 4 hrs and the cost is about $5000 installed. Don't live near Bozeman?!? I think this is your best bet on doinig your own Turbo install and Jeb & Nathan will most certainly help you every way they can!
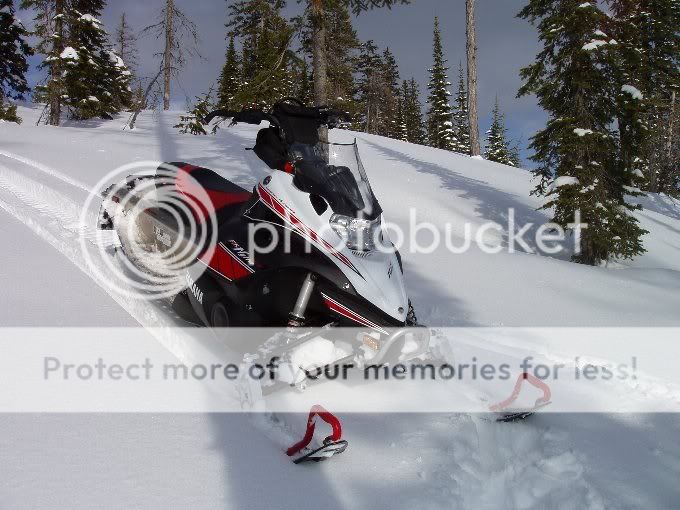
This sled had Zero miles on it and the night we picked it up, we had it half disassembled just checking out everything. I have to say .... it's cool stuff boys!!! Really cool !!!
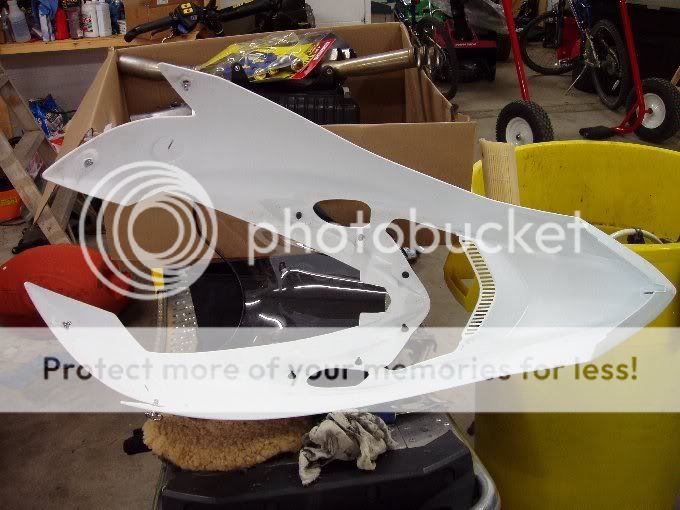
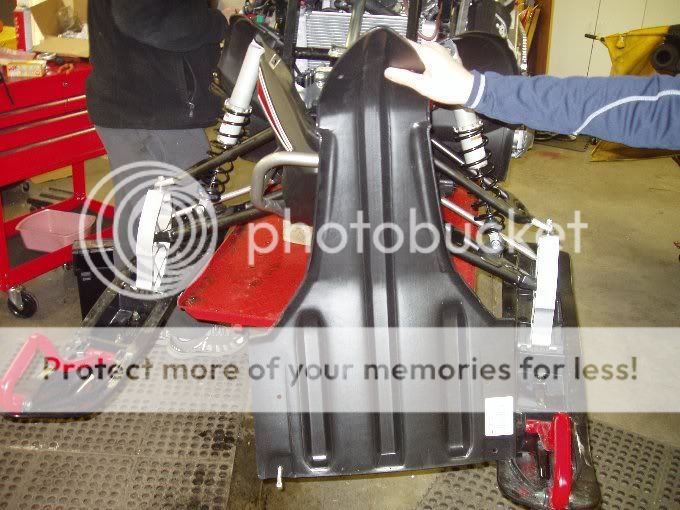
In this picture, we were putting the finishing touches on a 2" riser. I positioned is as high and far forward as I could. I'm 6' 2" and felt it fit me perfectly.
Before I get too caught up in the Turbo discussion, let me show you some of the other mods I've already done .....
This sled had Zero miles on it and the night we picked it up, we had it half disassembled just checking out everything. I have to say .... it's cool stuff boys!!! Really cool !!!
In this picture, we were putting the finishing touches on a 2" riser. I positioned is as high and far forward as I could. I'm 6' 2" and felt it fit me perfectly.
Before I get too caught up in the Turbo discussion, let me show you some of the other mods I've already done .....
ttabs
Extreme
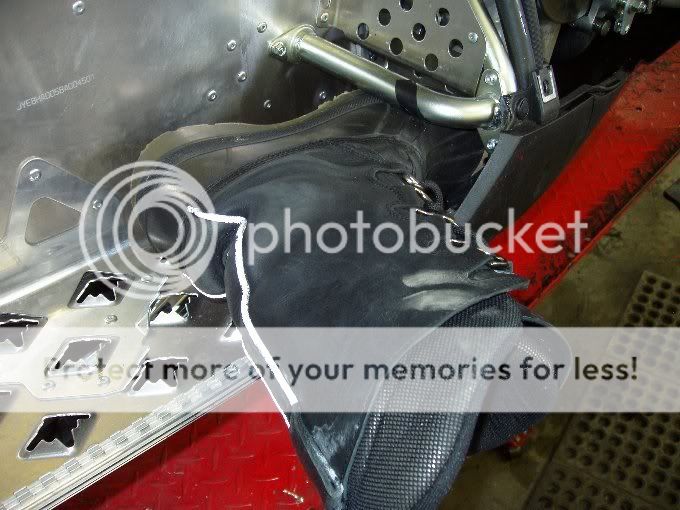
First things first - the foam has got to go. PERIOD!!!
And I'll tell ya, it'll be a bit of a wrestling match here ....
The Ski Doo foam puts up half the fight that this stuff does. First, you'll have to pick as much off as you can ....
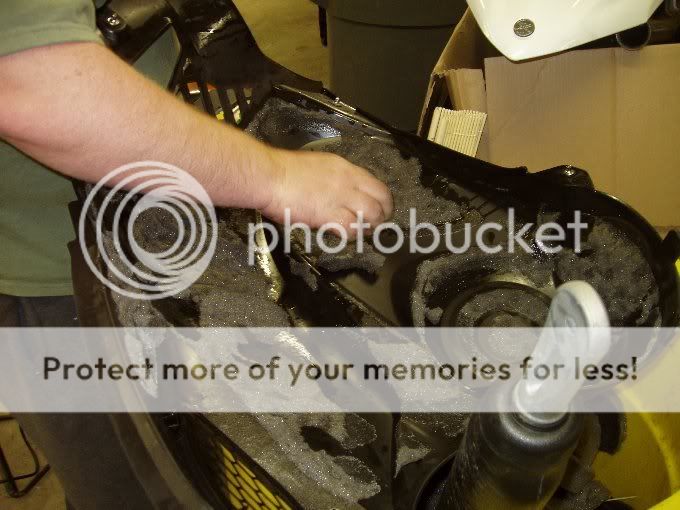
and then I found using white gas 'Colman fuel' help make a clean finish possible ....
The foam is installed for noise reduction and baffling. The negative side is it also absorbs moisture and can substantially increase the weight of your sled unknownly. To be safe ... it's gone!!!
And I'll tell ya, it'll be a bit of a wrestling match here ....
The Ski Doo foam puts up half the fight that this stuff does. First, you'll have to pick as much off as you can ....
and then I found using white gas 'Colman fuel' help make a clean finish possible ....
The foam is installed for noise reduction and baffling. The negative side is it also absorbs moisture and can substantially increase the weight of your sled unknownly. To be safe ... it's gone!!!
ttabs
Extreme
Next, I added a fuel filter in the oil vent (ahem .... dump) line.
On my first ride, I did manage twice to lay my sled on it side and I had oil everywhere. Good thing I knew about this problem and brought along an extra quart of Moble 1. If the sled oil indicator comes on, I don't think you'll be able to start your sled. Talk about being up a creek ...
On my turbo, the air box is completely removed and so the vent line is re-routed directly out by my R footwell. If your sled is stock, the vent line drains (ahem ... vents) directly into your air box. And of course should any oil get in there if you happen to roll your sled for any reason, it'll drain out the bottom of the box onto your belly pan or into your filter .... which ever is convenient.
So for me, I added a simple fuel filter in the vent line to slow down the oil loss. I know there's some concern about freezing but until someone comes up with a better idea, this is what I'm going with ...

IMPORTANT UPDATE ....
For an update to this topic, click here!
On my first ride, I did manage twice to lay my sled on it side and I had oil everywhere. Good thing I knew about this problem and brought along an extra quart of Moble 1. If the sled oil indicator comes on, I don't think you'll be able to start your sled. Talk about being up a creek ...
On my turbo, the air box is completely removed and so the vent line is re-routed directly out by my R footwell. If your sled is stock, the vent line drains (ahem ... vents) directly into your air box. And of course should any oil get in there if you happen to roll your sled for any reason, it'll drain out the bottom of the box onto your belly pan or into your filter .... which ever is convenient.
So for me, I added a simple fuel filter in the vent line to slow down the oil loss. I know there's some concern about freezing but until someone comes up with a better idea, this is what I'm going with ...
IMPORTANT UPDATE ....
For an update to this topic, click here!
ttabs
Extreme
VERY IMPORTANT
Before you go riding again, you must absolutely check the fitting of your boots in your foot-wells. Fellas, there has to be at least three guys I know of that tore some serious tendons or ligaments in the foot, ankle, and knee cuz their foot got stuck in the foot-well. AND, that injurey is so darn simple to do and could easily end your riding career.
MTDream pulled is ankles twice in one ride cuz his boot design is so wide. I was dragged once on my Rev when I tried to bail off in mid air and I went along for the whole ride cuz my boot got stuck in the well.
So take your boot, place it in the foot-well and turn it sideways. Then, try to remove it. If there is any binding at all, take those foot retainer bars off.
My pair fits barely, but I think I'll remove the bars anyway. I'm not sure what good they do ya anyhow.
ttabs
Extreme
Here's another quickie ....
If you're going to carry a spare belt, go buy one of these cheap belt clips, find a sutible position on the clutch cover .....
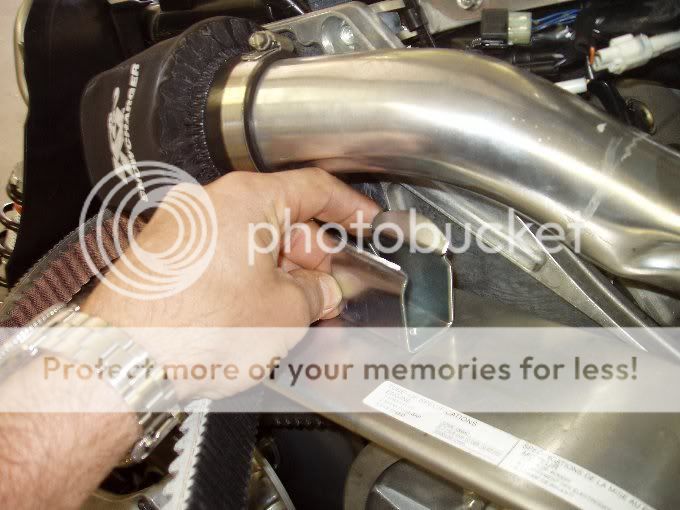
and rivet that thing in place. There, now you've done what Yamaha should've done in the first place.
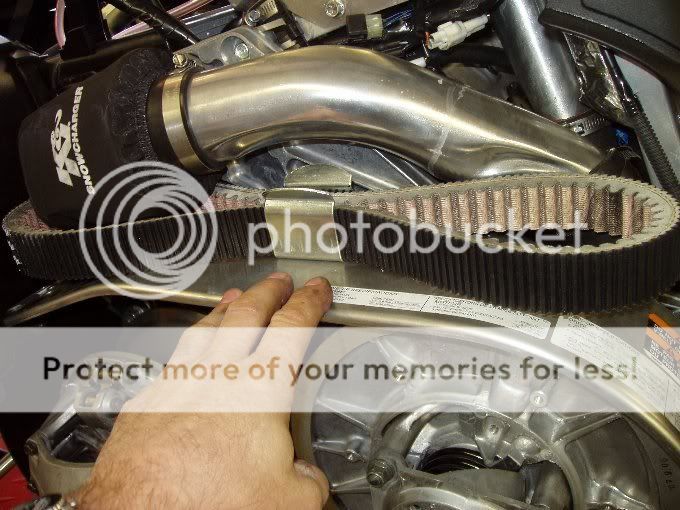
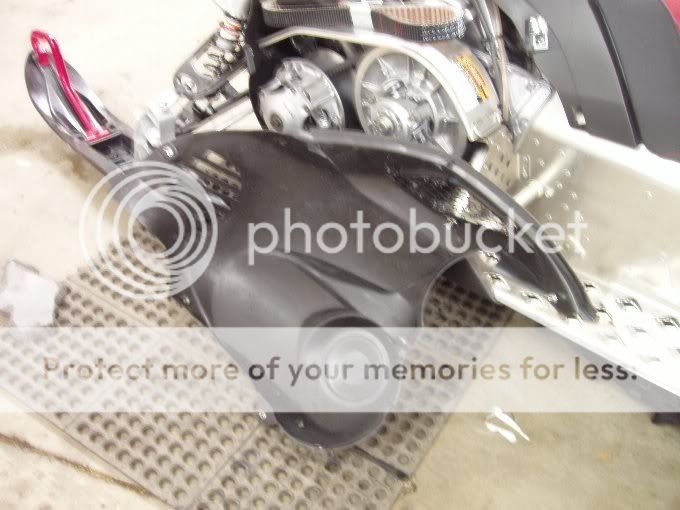
Never mind that air intake there ... that's part of my turbo
If you're going to carry a spare belt, go buy one of these cheap belt clips, find a sutible position on the clutch cover .....
and rivet that thing in place. There, now you've done what Yamaha should've done in the first place.
Never mind that air intake there ... that's part of my turbo
ttabs
Extreme
I picked this belly pan up off ebay.
Actually, it was a very clean install. To access the to bottom attachment site, you'll need to roll your sled on its side. ROLL IT ONTO IT'S LEFT SIDE or you'll have oil all over the place.
HEY - looky there. It's an oil filer!!!! See, were learning more and more about this thing.
This set up uses these screw grommets that attach to the frame using a special tool provided in the kit. You drill out the fitting ..
insert the grommet and compress it in place.

Now the screws that hold everything on will bolt right on and off. I think Yama-daba-doo got carried away with those little pop grommets.
Fairly easy install and now, I've got a belly pan for the stumps ....
Actually, it was a very clean install. To access the to bottom attachment site, you'll need to roll your sled on its side. ROLL IT ONTO IT'S LEFT SIDE or you'll have oil all over the place.
HEY - looky there. It's an oil filer!!!! See, were learning more and more about this thing.
This set up uses these screw grommets that attach to the frame using a special tool provided in the kit. You drill out the fitting ..
insert the grommet and compress it in place.
Now the screws that hold everything on will bolt right on and off. I think Yama-daba-doo got carried away with those little pop grommets.
Fairly easy install and now, I've got a belly pan for the stumps ....
ttabs
Extreme
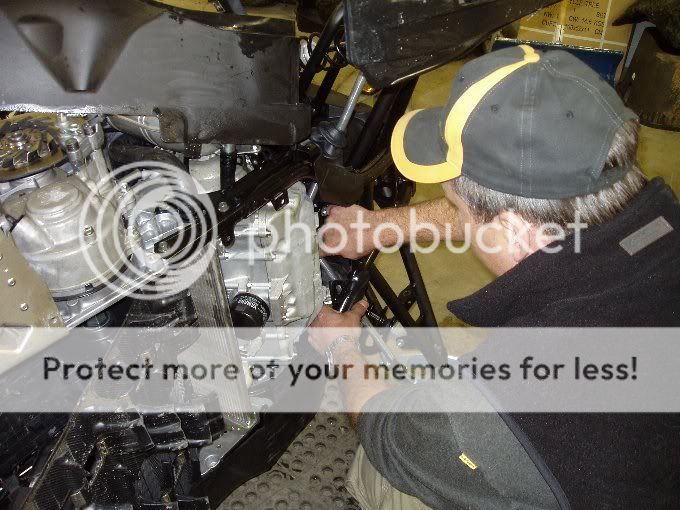
Finally, for the finale of my first round of mods, I've decided that the SWAY BAR's got to go. Easy shmeezy right? Wrong!!!!
There are two retaining clamps inside your chassis that hold that bar in place - one on each side. There are two screws on each clamp. The lower one is approached from the outside of the sled and is easy to pop off. But the top screw is an allen head screw that you have to get at from inside. Two problems - the engine block leaves you hardly any room and there is a frame pipe right in the way of things. It's a tight squeeze fellas.
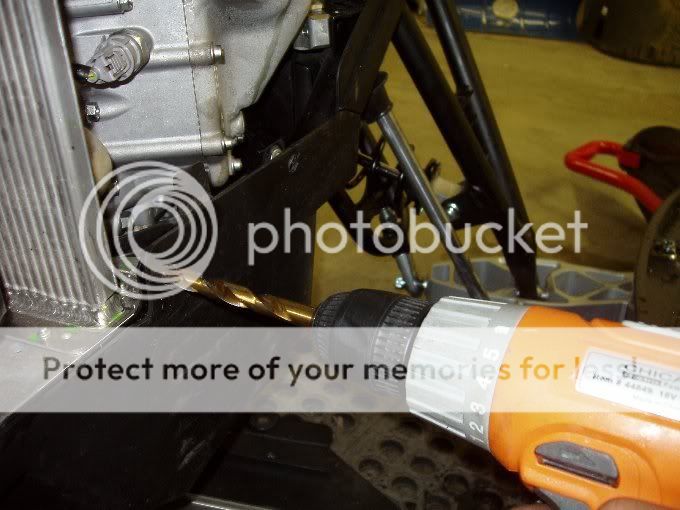
What we found worked was using a short allen head fitting and a 5mm wrench combo. I was able to pop one side off OK but the other side we stripped out.
So, it's Harbor Freight time. I lost my patience and brought out the big gun.
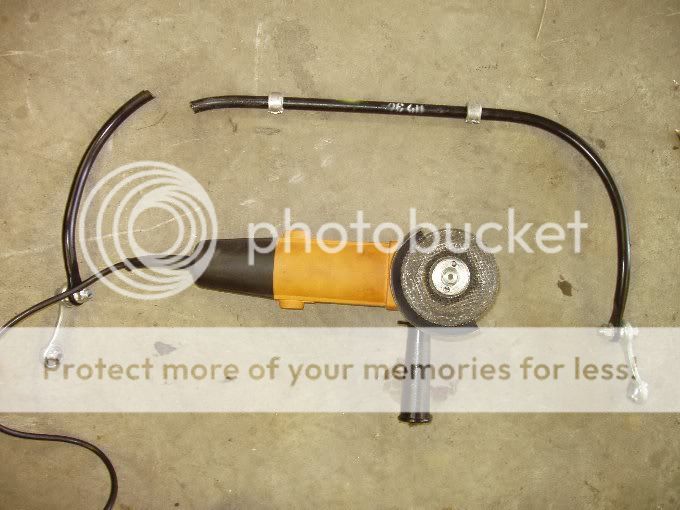
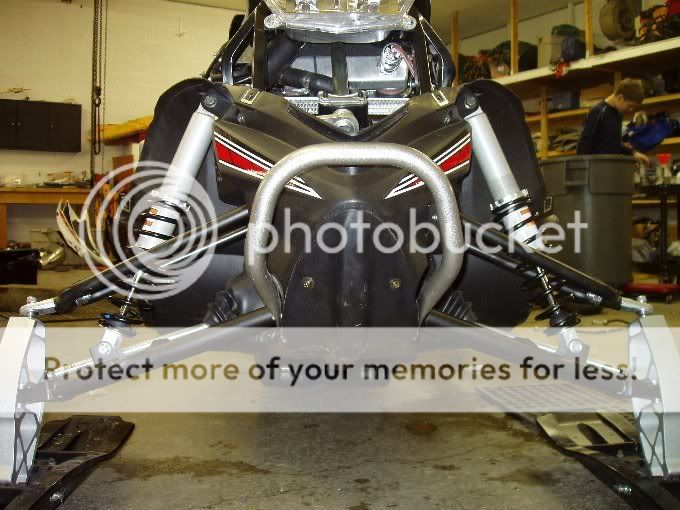
My Sway Bar is history. The sled now feels more agile and it's a good start to getting it where I want. I've got a Bogey wheel kit coming in the months to come that'll make this thing carve on a dime.
Check out this update ....
There are two retaining clamps inside your chassis that hold that bar in place - one on each side. There are two screws on each clamp. The lower one is approached from the outside of the sled and is easy to pop off. But the top screw is an allen head screw that you have to get at from inside. Two problems - the engine block leaves you hardly any room and there is a frame pipe right in the way of things. It's a tight squeeze fellas.
What we found worked was using a short allen head fitting and a 5mm wrench combo. I was able to pop one side off OK but the other side we stripped out.
So, it's Harbor Freight time. I lost my patience and brought out the big gun.
My Sway Bar is history.
The sled now feels more agile and it's a good start to getting it where I want. I've got a Bogey wheel kit coming in the months to come that'll make this thing carve on a dime.Check out this update ....
smitys800
Newbie
- Joined
- Mar 23, 2008
- Messages
- 21
BLA BLA BLA,
Anything REALLY good you wanna post?
Actually, this thread will do wonders for a lot of people, stay tuned!!
Smitty
Anything REALLY good you wanna post?
Actually, this thread will do wonders for a lot of people, stay tuned!!
Smitty
ttabs
Extreme
AH - a lurker from the other side. Or maybe a spy!!! 
OK, lets let the TURBO TALK begin!!!
There are several issues I considered that led me to this particular kit from NW Turbo. I want a kit that runs off pump gas only, I want a kit that's super reliable, and I want the easy install. Since these guys are fairly close, the install took care of itself. I had them do it!!")
BUT, really I think this install can be managed by anyone who is remotely savvy with a wrench. It is the only kit I know of that is truly a "bolt on" kit.
Here's another kicker - with this kit, you lose a net 16 lbs on the install. Yes, your headers, muffler, air box, and other small misc parts are gone!
The NW Turbo has a max of 10 lbs of boost and I had mine set at 8 lbs - well with in the safe zone of running with out any special fuel or system limitations. No head gasket shims, no special pistons, this thing just bolts right on. The gas tank is cut and a depression is plastic welded to accommodate the turbo. The guys at NW will do that for ya.
The Turbo is located right behind the engine and it's response to the throttle is nearly instantaneous ( .2 sec). The fuel mapping card is made by Pure Logic and comes set by NW. However, you can play around with adjustments on it all you want cuz its set well within a safe margin of error. You won't be able to blow your engine playing around with the mapping.
And the power? MTDream's FX is stock and we were able to do a side by side comparison. He can't wait to get his kit installed. The turbo power increase is smooth, deliberate, and will put a big smile on your face ... in a hurry. And the sound is cool! I mean really cool!
If your interested in running higher boost, then here's something to consider. You'll likely need to add a head shim, low compression pistons, different injectors, bla bla bla and so on. Yep, you'll have to pull the engine. Maybe add a new tunnel. Oh yea, and don't forget the race gas or Av gas. I've heard of some systems that claim to run off pump gas but in any case, be prepared to get heavily involved in your set up.
Supposedly, our kit will run around 220 hp. If it's 300 HP you seek, then Grasshopper, you have some idea of what's involved.
There's my initial Turbo blurp.
BTW- the clutching on this sled is barley satisfactory. The good news is ... I've got a solution coming.
OK, lets let the TURBO TALK begin!!!
There are several issues I considered that led me to this particular kit from NW Turbo. I want a kit that runs off pump gas only, I want a kit that's super reliable, and I want the easy install. Since these guys are fairly close, the install took care of itself. I had them do it!
BUT, really I think this install can be managed by anyone who is remotely savvy with a wrench. It is the only kit I know of that is truly a "bolt on" kit.
Here's another kicker - with this kit, you lose a net 16 lbs on the install. Yes, your headers, muffler, air box, and other small misc parts are gone!
The NW Turbo has a max of 10 lbs of boost and I had mine set at 8 lbs - well with in the safe zone of running with out any special fuel or system limitations. No head gasket shims, no special pistons, this thing just bolts right on. The gas tank is cut and a depression is plastic welded to accommodate the turbo. The guys at NW will do that for ya.
The Turbo is located right behind the engine and it's response to the throttle is nearly instantaneous ( .2 sec). The fuel mapping card is made by Pure Logic and comes set by NW. However, you can play around with adjustments on it all you want cuz its set well within a safe margin of error. You won't be able to blow your engine playing around with the mapping.
And the power? MTDream's FX is stock and we were able to do a side by side comparison. He can't wait to get his kit installed. The turbo power increase is smooth, deliberate, and will put a big smile on your face ... in a hurry. And the sound is cool! I mean really cool!
If your interested in running higher boost, then here's something to consider. You'll likely need to add a head shim, low compression pistons, different injectors, bla bla bla and so on. Yep, you'll have to pull the engine. Maybe add a new tunnel. Oh yea, and don't forget the race gas or Av gas. I've heard of some systems that claim to run off pump gas but in any case, be prepared to get heavily involved in your set up.
Supposedly, our kit will run around 220 hp. If it's 300 HP you seek, then Grasshopper, you have some idea of what's involved.
There's my initial Turbo blurp.
BTW- the clutching on this sled is barley satisfactory. The good news is ... I've got a solution coming.
YeeHaw!!!!!!!
Let the fun begin!!!!
Got a few mods at home awaiting to be installed
Oh yeah and then ride for the next few days!
Let the fun begin!!!!
Got a few mods at home awaiting to be installed
Oh yeah and then ride for the next few days!
Nikolai
TY 4 Stroke God
I'm not patient enough to repost a hundred pics, but if you read my "Second ride report" thread there's some good detailed info on the front end upgrades(welding and ball joints), an Expert-X installation, some tunnel mods, and general weeknesses I've found and repaired.
yahooo, ust got home, and I have the new tank from trailtank.net....and the new barkbuster front end is here!!!!
will be on before the ride this weekend!!
will be on before the ride this weekend!!
lightening1000
Newbie
turbo
ive been running the exact turbo set up for 2 months now with lots of tuning clutching etc. 8psi is pretty weak im running the stage 2 at 12ish. let your games begin, cant wait to hear your findings after you ride it some lol.
ive been running the exact turbo set up for 2 months now with lots of tuning clutching etc. 8psi is pretty weak im running the stage 2 at 12ish. let your games begin, cant wait to hear your findings after you ride it some lol.
SilentSno
Expert
- Joined
- Mar 6, 2007
- Messages
- 271
- Age
- 40
- Location
- Montana, USA
- Country
- USA
- Snowmobile
- 2008 Yamaha FX Nytro MTX
Fantastic thread.
You mentioned you cut on some on the tank? Did you lose capacity at all? Would a trail tank 10 gal tank work with this kit?
You mentioned you cut on some on the tank? Did you lose capacity at all? Would a trail tank 10 gal tank work with this kit?
Similar threads
- Replies
- 0
- Views
- 1K
- Replies
- 229
- Views
- 28K
- Replies
- 5
- Views
- 934
- Replies
- 50
- Views
- 8K
-
This site uses cookies to help personalise content, tailor your experience and to keep you logged in if you register.
By continuing to use this site, you are consenting to our use of cookies.