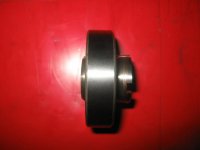
We had a customer's secondary clutch do something bad to the jackshaft bearing grease seal on an '04 RX yesterday. Bearing looked OK, but it still needed to be replaced.
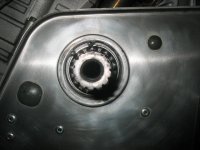
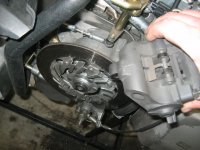
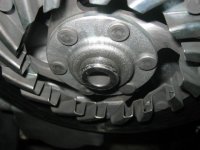
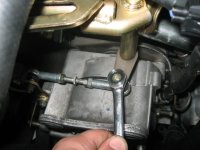
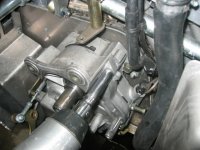
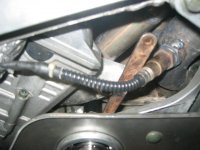
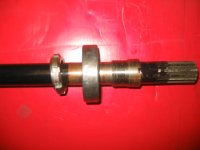
First pic is the bearing (PTO side) after washing with Brake cleaner. Remove the C-clip in the picture and then start on the chaincase side.
First pic is the bearing (PTO side) after washing with Brake cleaner. Remove the C-clip in the picture and then start on the chaincase side.
Attachments
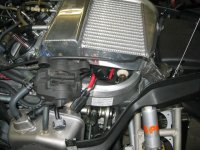
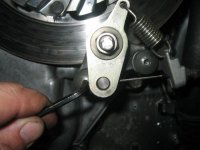
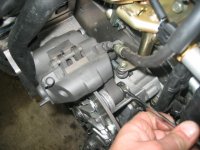
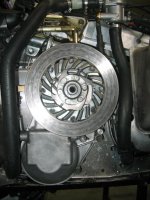
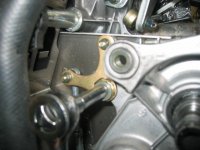
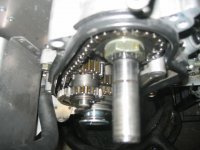
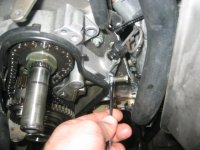
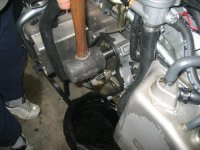
Remove the (2) 12mm bolts that hold the brake caliper in to the chaincase. Lay the caliper on top of the airbox (intercooler in this case) and then move on to the emergency brake assembly. Remove the two Allen head bolts as pictured and place next to the caliper.
Attachments
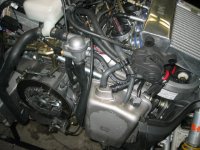
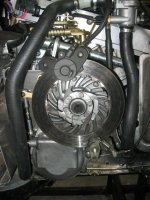
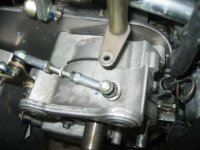
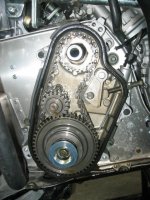
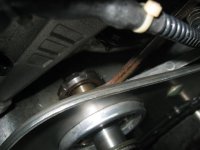
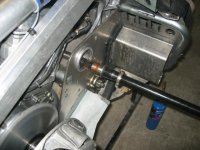
The collar in the above picture is held in place by a #25 Torx head set screw. back the screw out a few turns and then pull the collar off of the shaft. if your sled has reverse, disconnect the shift lever from the chaincase and remove the 10mm bolt from the chaincase cover.
Attachments
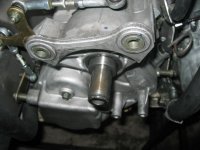
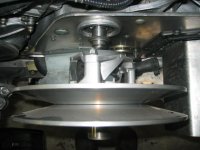
You'll need some kind of tool to hold the locking collar in place when starting to remove the bearing. Pictured is an old Ohlins shock wrench which works well. Reach in behind the bearing and hold the collar in place with the tool. Put the secondary back on the shaft backwards, and rotate counter-clockwise.
Attachments
That's as far as this can go until I pick up a new bearing tomorrow...
Indy
TY 4 Stroke God
Nice job, thanks.
MEAT
Expert
Wasn't there a recall on the 03 and 04 jackshaft bearings ?
Fullback
Expert
Can these pictures and thread be included in the Tech section?
Thanks, Bob
Thanks, Bob
Bearing came in yesterday and I finished up the install.
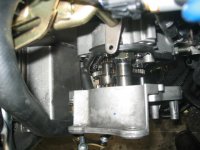
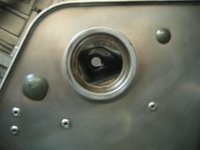
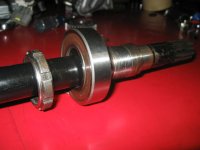
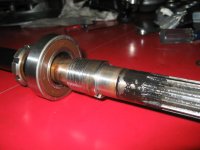
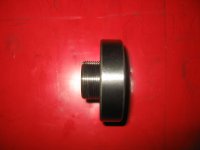
Pics of the collar, nut and new bearing on the shaft in the correct orientation. The bearing is tapered (note how the collar only fits flush in one direction). Double check that you have the bearing facing the right way before installing).
Pics of the collar, nut and new bearing on the shaft in the correct orientation. The bearing is tapered (note how the collar only fits flush in one direction). Double check that you have the bearing facing the right way before installing).
Attachments
Similar threads
- Replies
- 5
- Views
- 2K
- Replies
- 2
- Views
- 1K
- Replies
- 8
- Views
- 3K
- Replies
- 20
- Views
- 3K
-
This site uses cookies to help personalise content, tailor your experience and to keep you logged in if you register.
By continuing to use this site, you are consenting to our use of cookies.


