Nikolai
TY 4 Stroke God
Found out the reverse and non reverse driveshafts are different so cleaned up all the parts and put the reverse chaincase back together. Fixed a few things and got the gas tank and seat on. Put stock helix and spring in driven clutch and cleaned the sheaves. Put stock rollers in drive clutch and will do weights & spring tomorrow. Got the radiator and my oil tank back on. Going to pull the Cat skid Monday and go through it and trim the nubs off the track. Hopefully by Wednesday I'll be flushing the cooling system and putting new coolant and engine oil/filter in and running it.

kinger
VIP Member
- Joined
- Jan 17, 2005
- Messages
- 7,422
- Reaction score
- 1,556
- Points
- 1,963
- Location
- Clear Lake, IA
- Website
- www.piergenius.com
Gotta love week long builds and being able to hopefully run it!
Nikolai
TY 4 Stroke God
Because I have sled ADD and my brain never stops, I'm going to change topics again.
I want to build a full tube chassis someday but I don't want to base it off existing geometry. I think the lightest, strongest way to build the chassis would be to focus on tube layout and motor mounts/a-arm mounts and build a-arms last. One of my thoughts was to build a subframe I could bolt to my sled that had adjustable shock mounts(in/out/up/down) and heim joints on all the a-arms (on the inner joints) so shocks could be easily adjusted and a-arms easily modified (to move spindle forward/back/in/out), and use my sled next winter test front end geometry and get it dialed. Then build tube chassis in 2018.
Part of the reason for not using existing geometery are the following.
Goal #1. Cut as much weight as possible and maximize strength by using a simple tube layout. That's easily obtained by worrying about geometry last, but it can't handle poorly either.
- design it to use entirely 3/4 x .035
- as few bends as possible, try for straight tubes and welded joints for strength
- a-arm and motor mounts at tube junctions for strength and less bracing (less weight)
- shock mounts and a-arms on same plane so spherical bearings aren't needed.
- tube layout only needs to support motor mounts, a-arms and shocks, anything extra is uneccessary weight and fab time.
I was looking at my subframe today and a really simple subframe could be built, and built strong, but it angles the a-arms similar to a Pro, and shortens them. By building custom a-arms and tuning their length and distance from the driveshaft, maybe it's possible to overcome the downsides of angling them forward. The question is, can it be made to have acceptable handling characteristics for a mountain sled.
Here's a pic with some tubes on my subframe and a crude drawing of the lower a-arm mounts.
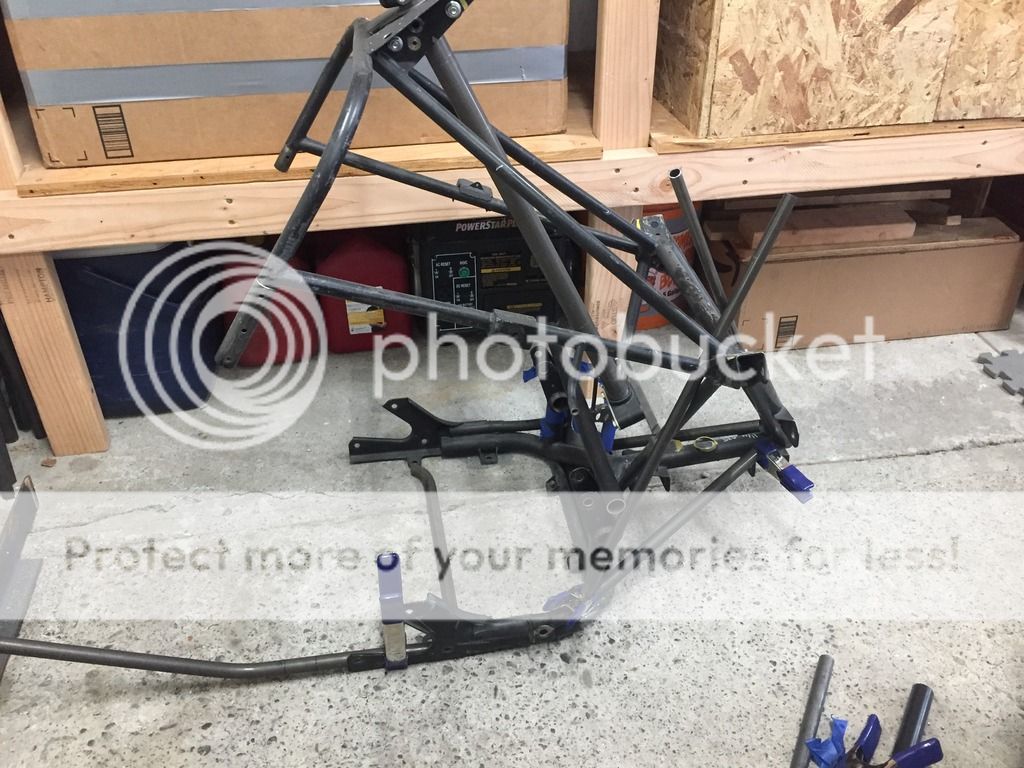
(The X would be under the motor)
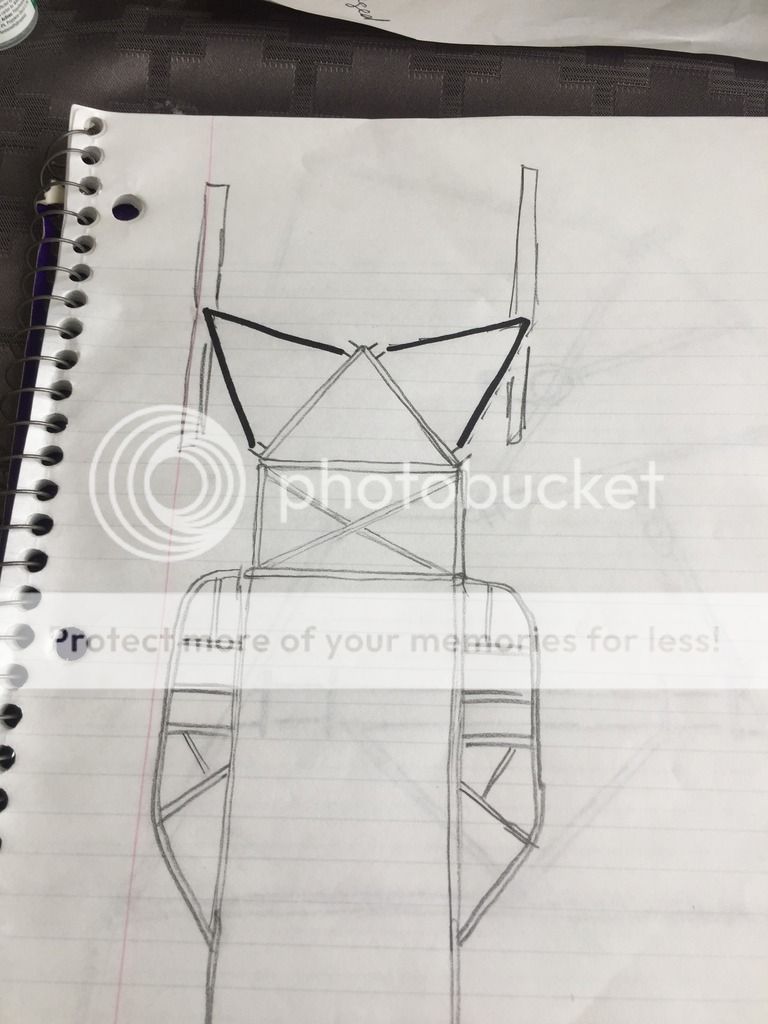
Although it makes for an incredibly simple and light tube layout, it does change the suspension a lot.
Pros
- less complicated tube layout
- reduces the leverage on the a-arms compared to a Nytro so lightweight a-arms could be built(maybe as thin as 1" .035).
- easier to enclose front end with custom body panels
- more room in chassis for steering
Cons
- a-arms are angled outward at the back more than a Pro
- all the a-arms become shorter
- upper a-arms become longer
Anyway, that's what has been on my mind.
I want to build a full tube chassis someday but I don't want to base it off existing geometry. I think the lightest, strongest way to build the chassis would be to focus on tube layout and motor mounts/a-arm mounts and build a-arms last. One of my thoughts was to build a subframe I could bolt to my sled that had adjustable shock mounts(in/out/up/down) and heim joints on all the a-arms (on the inner joints) so shocks could be easily adjusted and a-arms easily modified (to move spindle forward/back/in/out), and use my sled next winter test front end geometry and get it dialed. Then build tube chassis in 2018.
Part of the reason for not using existing geometery are the following.
Goal #1. Cut as much weight as possible and maximize strength by using a simple tube layout. That's easily obtained by worrying about geometry last, but it can't handle poorly either.
- design it to use entirely 3/4 x .035
- as few bends as possible, try for straight tubes and welded joints for strength
- a-arm and motor mounts at tube junctions for strength and less bracing (less weight)
- shock mounts and a-arms on same plane so spherical bearings aren't needed.
- tube layout only needs to support motor mounts, a-arms and shocks, anything extra is uneccessary weight and fab time.
I was looking at my subframe today and a really simple subframe could be built, and built strong, but it angles the a-arms similar to a Pro, and shortens them. By building custom a-arms and tuning their length and distance from the driveshaft, maybe it's possible to overcome the downsides of angling them forward. The question is, can it be made to have acceptable handling characteristics for a mountain sled.
Here's a pic with some tubes on my subframe and a crude drawing of the lower a-arm mounts.
(The X would be under the motor)
Although it makes for an incredibly simple and light tube layout, it does change the suspension a lot.
Pros
- less complicated tube layout
- reduces the leverage on the a-arms compared to a Nytro so lightweight a-arms could be built(maybe as thin as 1" .035).
- easier to enclose front end with custom body panels
- more room in chassis for steering
Cons
- a-arms are angled outward at the back more than a Pro
- all the a-arms become shorter
- upper a-arms become longer
Anyway, that's what has been on my mind.
Nikolai
TY 4 Stroke God
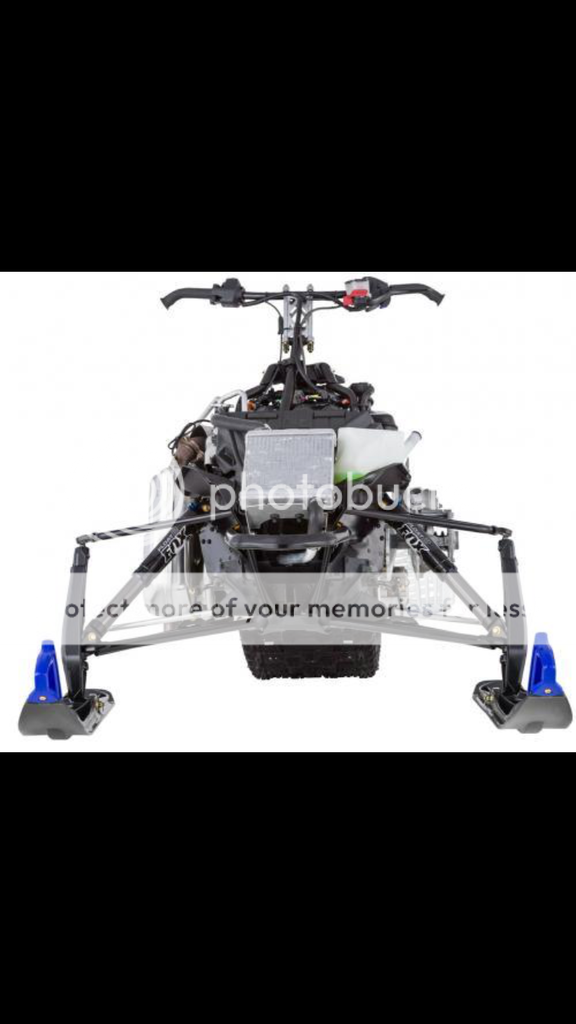
I guess it would actually be pretty similar to the Viper except my upper arm would mounted a little further back and the inner mounts closer together to get the traingle between the lower arm/upper arm/shock mount.
kinger
VIP Member
- Joined
- Jan 17, 2005
- Messages
- 7,422
- Reaction score
- 1,556
- Points
- 1,963
- Location
- Clear Lake, IA
- Website
- www.piergenius.com
I love where that is going. Although hasn't this been done before? Do we need to reinvent the wheel? Geometry confuses the heck out of me, what is good what works, I mean small changes in the nytro's spindles made huge changes, now I see A-arm companies making all the Plus forward kits not only for nytros but for all brands. What is all the different variations from? Shouldn't by now there be a recipe for good front suspension? ie so much camber, so much caster, so much travel, so much forward of driveshaft, etc? Why all the guessing and differences? Is it a weight distribution thing? Have you found my apex weights in the apex mountain forum? That adds a while other level of complexity to it. The 4S are balanced nose LIGHT not heavy like everyone assumes or says (at least the apex not sure on nytro)
Seems like you may have the cart in front of the horse, we need to figure out where we want weight, then that dictates the suspension design (camber, caster, inches from DS, etc) then we go to structural frame work to support that.
That all said I love the simplicity of your design. I'm a big fan of KISS. I thought the poo pro suspension was the end all be all? I thought that would be the best OEM geometry to copy or at least start from.
Nikolai
TY 4 Stroke God
You're right that the Pro chassis does seem to be the best design going, but even it doesn't allow for optimum chassis design(have rlcofmn's old Pro jig in my shop that my buddy is using). It's pretty close, but not quite there. Somewhere in between the Pro and the Viper would be perfect. I think with the heavy 4-stroke motors, less weight & weight further back is more important than 50/50 weight distribution, more so for a mountain sled where ski pressure isn't really needed.
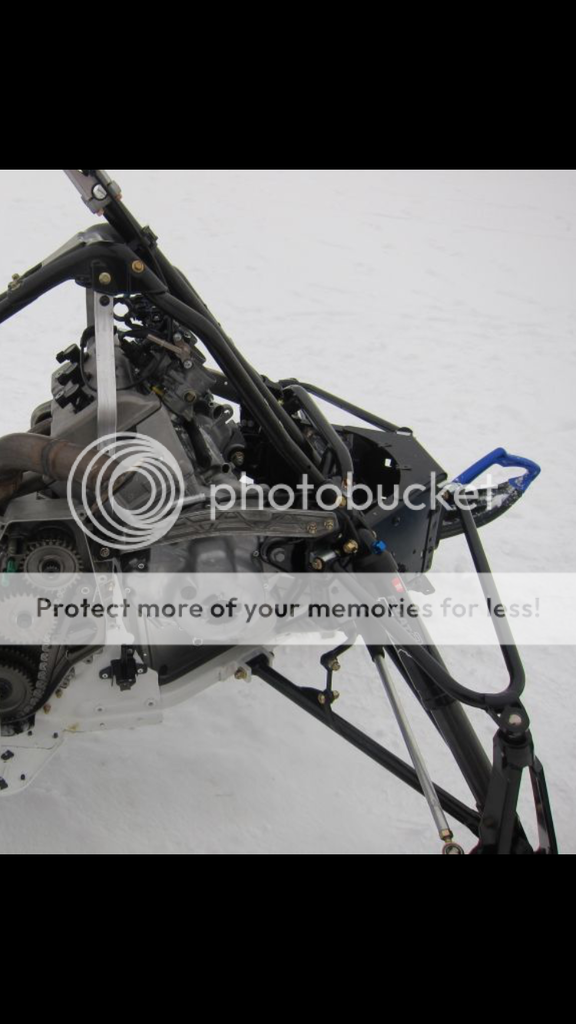
I really want to build a tube chassis now but I need to get something on the snow for testing and the sake of riding. The Nytro motor could be moved back quite a bit, probably close to 2" which would put more weight directly under the rider.
My thoughts for a compact chassis. Delete the front cooler, decide on drivetrain & driver (say Apex chaincase w/ 7 T 3" pitch for low cost, simplicity & durability) and assume 1/2" of clearance from the track tip is adequate. Position the motor as far back as possible and slightly raised (more than a Nytro but less than Viper) until you hit you're 1/2" of clearance from the track tips. On a Nytro this would position the center of the driveshaft 6.84" from the starter(3.34" radius + 3" track + .5" clearance). Position the motor at the desired angle (header parallel w/ tunnel) and then roll the jackshaft back (leaving driveshaft in place) until correct clutch c to c is found. This gets the motor & driveshaft close together which I think is the most important place to start. From there, build the front suspension as far back into the motor as possible. Result would be much shorter tubes(especially from shock to hoop), less tubes and less weight. Then build the a-arms to get desired distance from spindle to driveshaft. I think by doing this you could build the most centralized compact 4-stroke on the snow.
Would it handle good, who knows. I think it'd be a riot though. That sled would be so compact, strong and light. Easily under 400 lbs even with a chain case. And if the tube layout was simple enough then the chassis could be replicated.
Nikolai
TY 4 Stroke God
Just thinking off the top of my head but if I moved the Nytro motor back 2" and left the turbo where it is, you are now shortening the header, charge tube, oil lines & cooler lines all 2" which is even more weight.
kinger
VIP Member
- Joined
- Jan 17, 2005
- Messages
- 7,422
- Reaction score
- 1,556
- Points
- 1,963
- Location
- Clear Lake, IA
- Website
- www.piergenius.com
Have you weighed your nytro on 4 scales? 2 under the skis and 1 under each arm of the suspension. I used to think that moving everything back on my apex would be correct instead it showed I need to move it forward to balance the weight 50/50. I'm so confused by this! The pro is 54% heavy in the nose just sitting there, but with a rider goes to like 46% of the weight is up front...or something close to that.....BUT it also only has about 150lbs on each ski which seems to be the magical point for ski weights in almost all conditions including mountain.
Sportsterdanne
TY 4 Stroke Guru
Or install the turbo in front of the gastank.
Just thinking off the top of my head but if I moved the Nytro motor back 2" and left the turbo where it is, you are now shortening the header, charge tube, oil lines & cooler lines all 2" which is even more weight.
kinger
VIP Member
- Joined
- Jan 17, 2005
- Messages
- 7,422
- Reaction score
- 1,556
- Points
- 1,963
- Location
- Clear Lake, IA
- Website
- www.piergenius.com

Nikolai
TY 4 Stroke God
Yes. My buddy had a PHC ProPex. Very nice but lots of tubing.
I'm working the 16:00-24:00 shift at work this week so lots of time for brainstorming.
Along with simplifying the chassis, another good way to lose weight is to narrow it. Cross shafts, drive/jack shafts, tunnel, tubing, etc all get lighter. Not to mention riding a narrower sled is more comfortable and if using a 15" wide track then a wide tunnel isn't necessary.
My latest thought for a tubie has been non reverse Apex chain case(06/07) without the extra bearing in the cover. Have the clutchside of the driveshaft shortened 1", machine the hex back for the bearing & drill/tap for speedo gear bolt. Then shorten the jackshaft 1", extend the splines & drill/tap for clutch bolt. There's a local machine shop that can do this although I don't know the cost. IMO, ideal chassis width would be 15-5/8" inbetween the tube and 15-1/2" ID once skinned.
Here's what got me thinking about the Apex stuff. I was staring at the Nytro diecast plates yesterday and hit me that they could be narrowed up 1" if the front cooler was deleted. Driveshaft would be easy(same work needed as Apex) but jackshaft bearing may be harder to move in. Theres enough adjustment in the rear motor mount and the head would be up against the battery bracket but it would fit. I don't think the cost of the shaft machining is worth retaining the diecast sides but a 15.5" wide Nytro would be fun. It would also center the motor 1" towards the chaincase and narrow up the clutch side bodywork quite. All of which would benefit a tube chassis.
Nikolai
TY 4 Stroke God
Got the sled wrapped up tonight, it was a very long day.
When I pulled the skid out at the beginning of the week I found the front arm bent. Got on eBay and found a set of green arms (front & rear) for $80 + shipping. Minor setback

Arms came in the mail today. Went through the suspension, greased everything and got it installed. Cut the small knobs off the track and got track tension set.
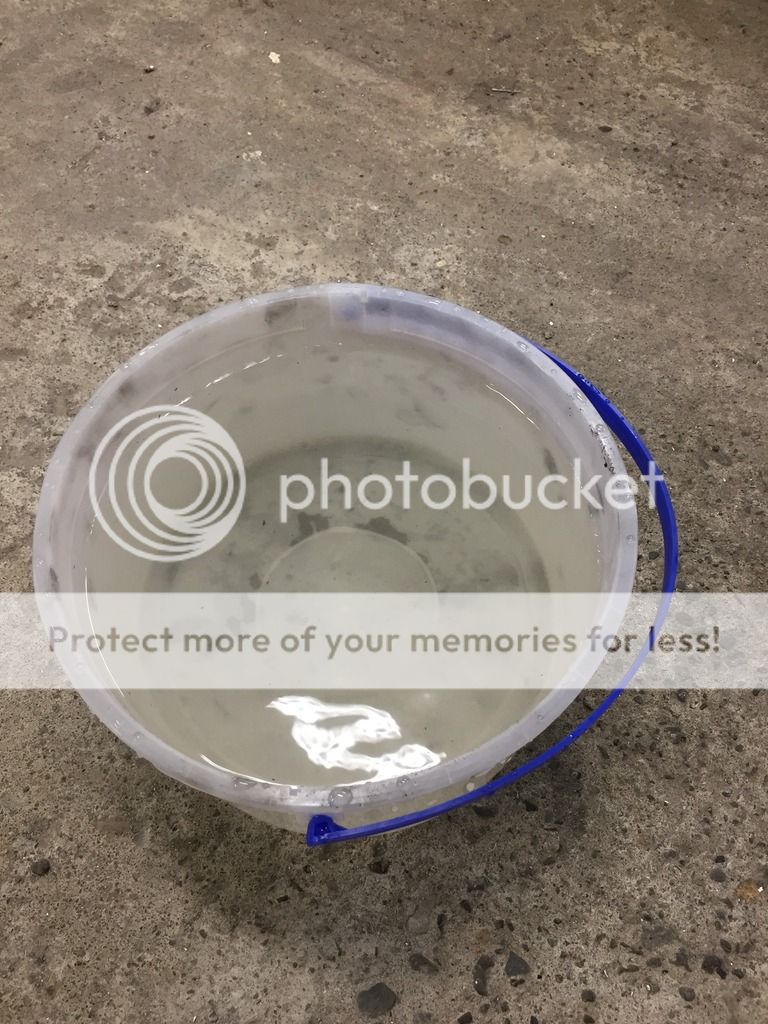
When I drained the coolant last week it came out this color.
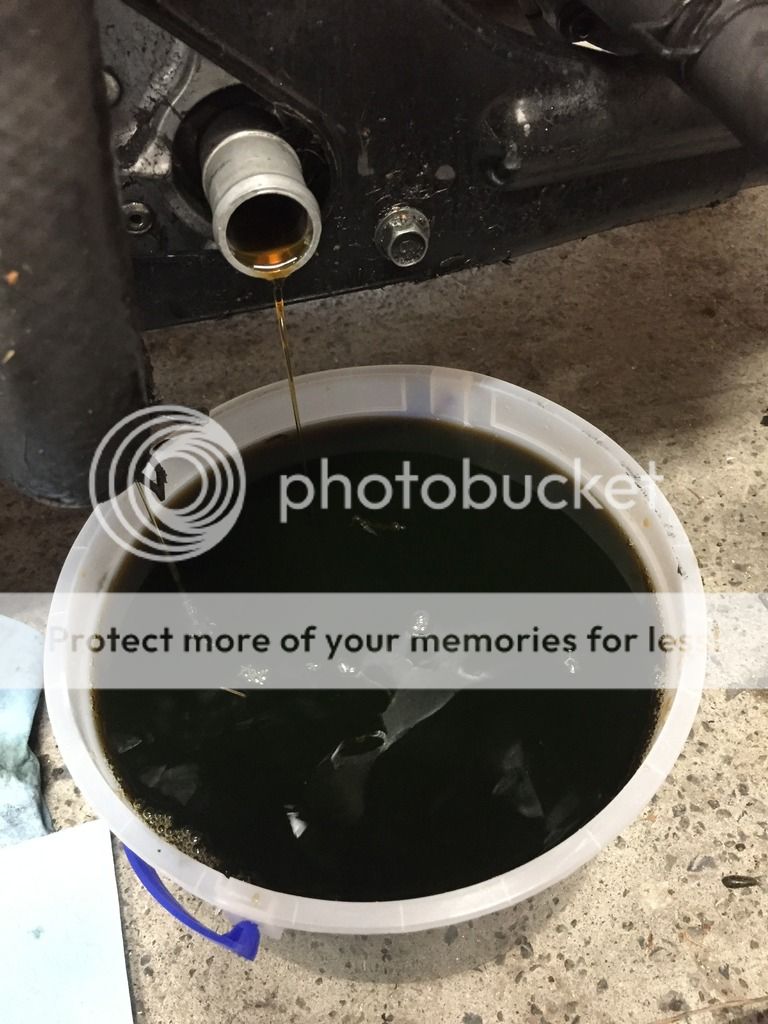
There was no oil in it so I'm not sure why it was dark. My guess is they either mixed green & orange coolant together or put stop leak in it at some time. I ran it & flushed it 4 times with water until it came out clear.
Drained the old oil out of it and ran some cheap NAPA 5-30 through it while I flushed the coolant. Drained that oil and put Yamalube in & a new filter on.
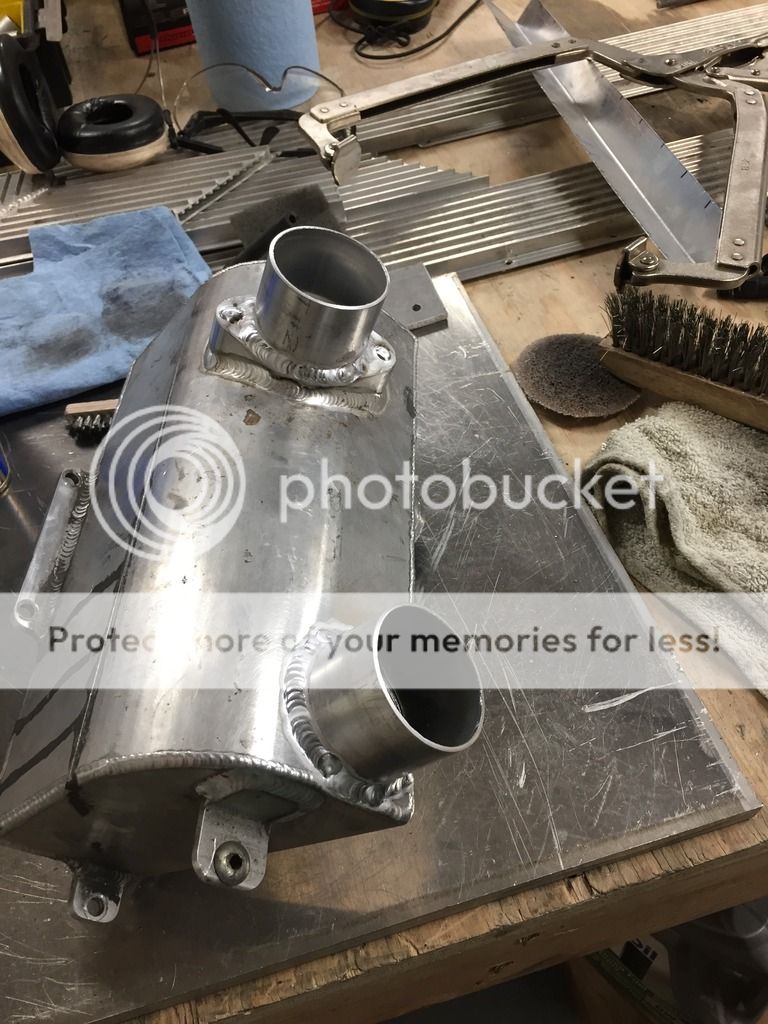
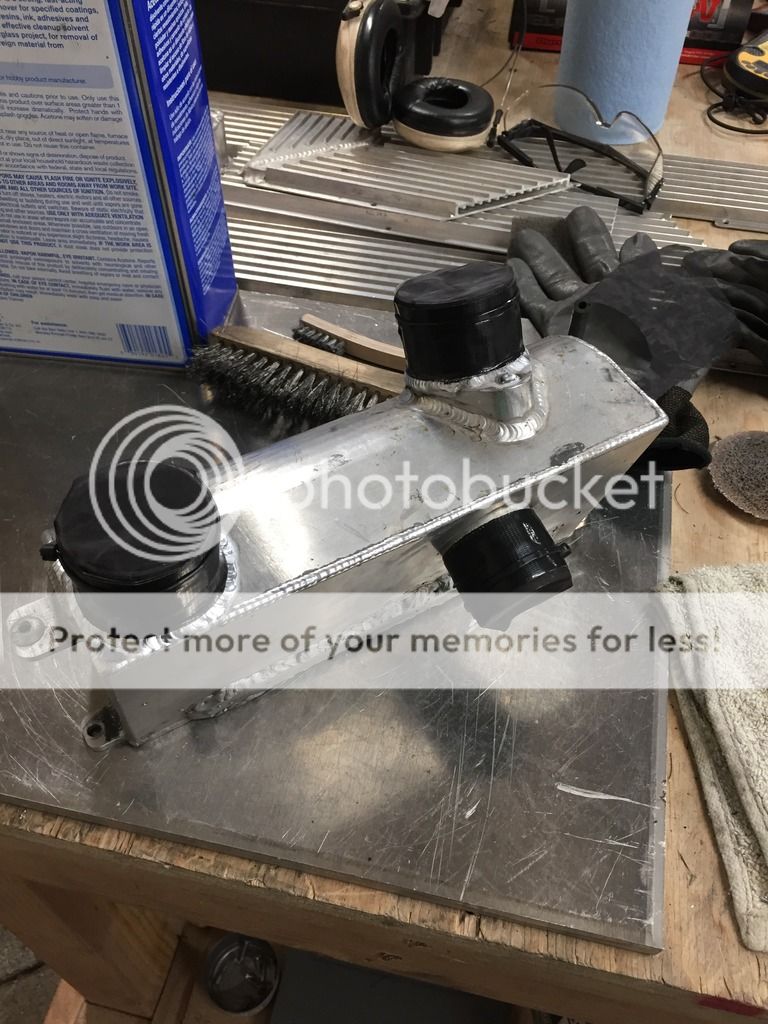
Local snowmachine salvage did not have an airbox so I modified the plenum. Welded a piece of 2" tube ontop of where the blowoff valve was, and welded another 2" tube on the lower left.
Cut out some prefilter material I had and taped/zip tied it on. It's crude but it'll work for only needing to ride it once.
Replaced broken riser bolts, buttoned up the clutches and put a newer belt on. The lower plastics had been hacked up bad so it took awhile to get them zip tied & fastened on. Lots of little stuff, but it's 1:21 am and I'm done!
Riding Sunday for the first time in a couple years. Running this one in the garage with the sound & smell of that motor really makes me want to get mine done.

When I pulled the skid out at the beginning of the week I found the front arm bent. Got on eBay and found a set of green arms (front & rear) for $80 + shipping. Minor setback
Arms came in the mail today. Went through the suspension, greased everything and got it installed. Cut the small knobs off the track and got track tension set.
When I drained the coolant last week it came out this color.
There was no oil in it so I'm not sure why it was dark. My guess is they either mixed green & orange coolant together or put stop leak in it at some time. I ran it & flushed it 4 times with water until it came out clear.
Drained the old oil out of it and ran some cheap NAPA 5-30 through it while I flushed the coolant. Drained that oil and put Yamalube in & a new filter on.
Local snowmachine salvage did not have an airbox so I modified the plenum. Welded a piece of 2" tube ontop of where the blowoff valve was, and welded another 2" tube on the lower left.
Cut out some prefilter material I had and taped/zip tied it on. It's crude but it'll work for only needing to ride it once.
Replaced broken riser bolts, buttoned up the clutches and put a newer belt on. The lower plastics had been hacked up bad so it took awhile to get them zip tied & fastened on. Lots of little stuff, but it's 1:21 am and I'm done!
Riding Sunday for the first time in a couple years. Running this one in the garage with the sound & smell of that motor really makes me want to get mine done.
kinger
VIP Member
- Joined
- Jan 17, 2005
- Messages
- 7,422
- Reaction score
- 1,556
- Points
- 1,963
- Location
- Clear Lake, IA
- Website
- www.piergenius.com
Good build hope you had fun Sunday!! How long can you ride and at what elevation? 70'degrees here and mowing I thought everyone was done.
Sent from my iPhone using Tapatalk
Sent from my iPhone using Tapatalk
Nikolai
TY 4 Stroke God
I'm going to part it out but probably ride for 2-3 more weeks. Elevation is sea level to 3,500 ft probably.
Today was a lot fun. Riding was a blast and I'm heavily motivated to finish my build now.
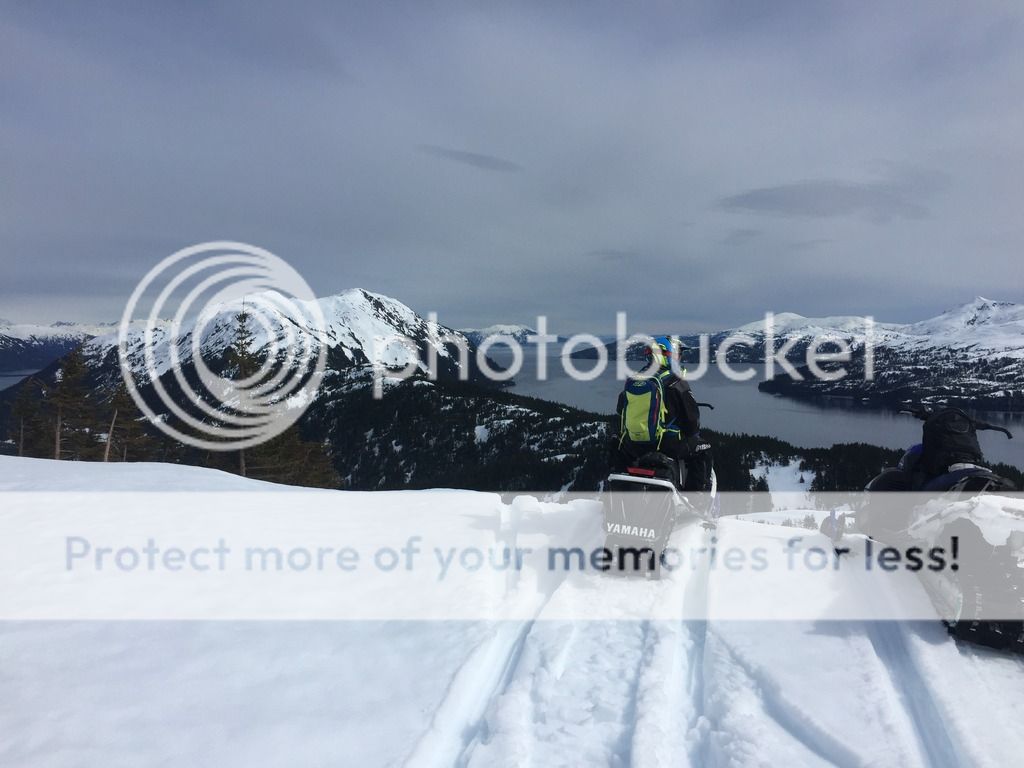
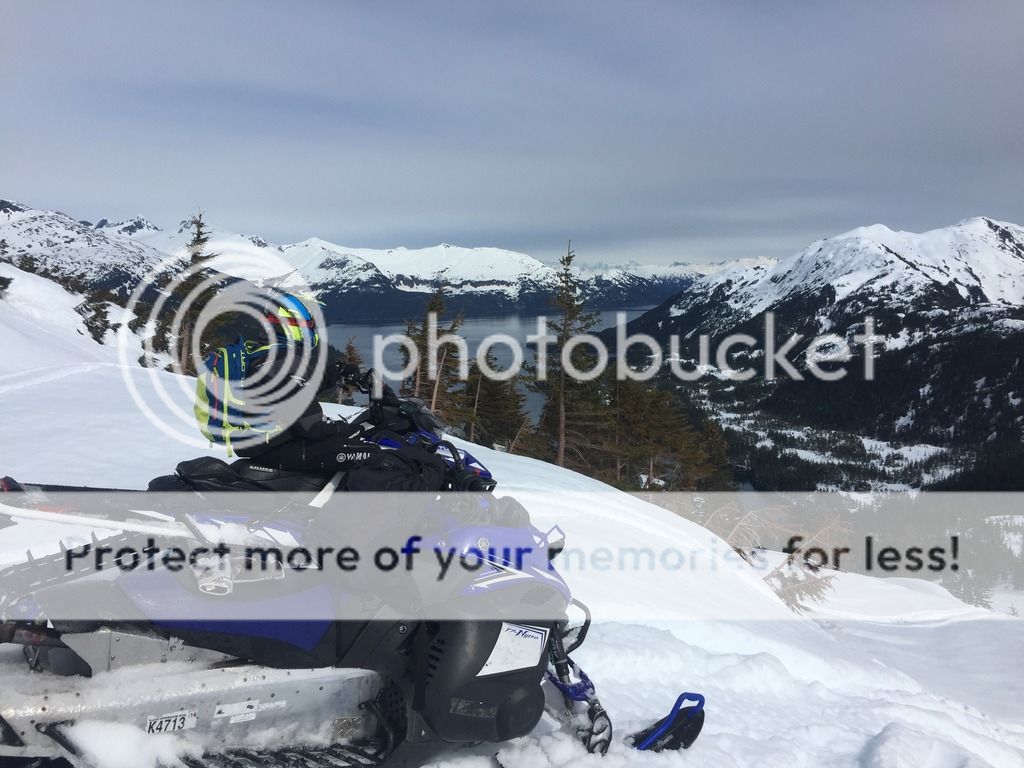
Today was a lot fun. Riding was a blast and I'm heavily motivated to finish my build now.
HA!! Nice. So whats it like riding a tank again. HAHAH Well you have a Sidewinder right there to jig. If your buddy is willing to let you use it. Im sure you rode it also. Its a pretty impressive chassis, especially on the new 2018 model. Where Cat dropped and rolled the chain case and narrowed up the running boards.
Similar threads
- Replies
- 37
- Views
- 11K
- Replies
- 6
- Views
- 3K
- Replies
- 16
- Views
- 7K
- Replies
- 1
- Views
- 711
- Replies
- 12
- Views
- 3K
-
This site uses cookies to help personalise content, tailor your experience and to keep you logged in if you register.
By continuing to use this site, you are consenting to our use of cookies.