DaveyBoy
TY 4 Stroke Guru
 u got a pm
welterracer
TY 4 Stroke God
The purpose of the plastic screws is to break off if you roll it verses crushing the dash.. It is a great idea..
Dont over tighten them.. .just barely seat them..
Dont over tighten them.. .just barely seat them..
apexer said:Has anyone put one of these on a blue Attack? If so how about a picture.
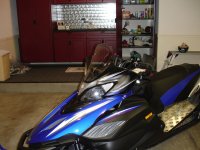
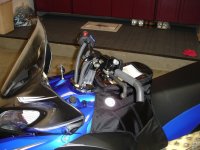
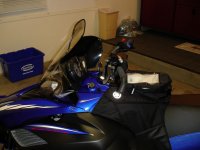
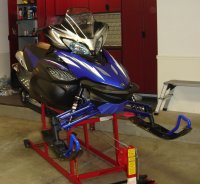
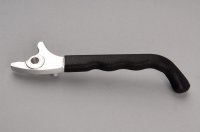
OK, I promised some pictures and finally got the windshield re-installed....ordered new bolts and rubber nuts and they just came in today. Also took a couple with the new hooked brake lever that some have asked about.

Attachments
Nice!!!
studdog
TY 4 Stroke Junkie
nice combination with chrome windshield and siver and blue on sled. looks great! studdog. Is the longer brake lever still adjustable for lever distance to hand grip? studdog
Is the longer brake lever still adjustable for lever distance to hand grip? studdog
No. You lose the adjustability feature. I will say that it does feel right though....

MR.HAPPY
TY 4 Stroke Master
- Joined
- Sep 30, 2003
- Messages
- 1,159
- Location
- GREAT NORTH OF... ILLINOIS?
- Country
- USA
- Snowmobile
- YAMAHA
What brand of brake lever did you use?
I used them for years & loved them with the hooked bars, but got tired of customizing the bars to look good!!!
BR
I used them for years & loved them with the hooked bars, but got tired of customizing the bars to look good!!!
BR
What brand of brake lever did you use?
It's a Yamaha accessory. Part #SMA-LEVER-00-00 $34.95
Kevin from Port told us how nice the lever was while visting with him at the Milwaukee show....thanks Kevin!

Attachments
Pureadrenaline
Expert
snomonut I noticed that you aleady put your skid plate on. Could you tell me what you had to do and what tools are needed.
Thanks,
-Pure-
Thanks,
-Pure-
Pureadrenaline said:snomonut I noticed that you aleady put your skid plate on. Could you tell me what you had to do and what tools are needed.
Thanks,
-Pure-
Pure- a drill, socket wrench, open ended wrench and philips head screwdriver. Yamaha supplies the little tool used to expand the nut inside the belly pan. Just follow the directions, they are pretty well laid out. If possible, use the metric size drill bit they specify, otherwise you'll be routing out the rivet hole with your non-metric bit. Everything lines up easily.
Essentially, you are drilling out 4 rivets on the belly (a sharp drill bit helps), using the special tool to install the nuts inside the belly pan and then screwing it all together!
Nice Rumble
Expert
Looks like you have your machine in your living room. You got your priorities straight! 

Mighty
TY 4 Stroke God
- Joined
- Apr 17, 2003
- Messages
- 4,794
- Age
- 62
- Location
- Grand Ledge Michigan USA!
- Country
- USA
- Snowmobile
- 22 Mach Z
23 Sidewinder SRX
Hmmm, I only thought that color combo would work with the GT but was wrong. That does look good, matching the exaust covers 


Sasquatch
Lifetime Member
- Joined
- Apr 17, 2004
- Messages
- 3,699
- Location
- North Western Ontario
- Website
- www.dptc.com
- Country
- Canada
- Snowmobile
- Yamaha's
Now thats a way better shield and it looks good as well. 

Nice Rumble said:Looks like you have your machine in your living room. You got your priorities straight!
I agree.....on the other hand, the wife thinks I'm nuts!
Similar threads
- Replies
- 10
- Views
- 2K
- Replies
- 29
- Views
- 5K
-
This site uses cookies to help personalise content, tailor your experience and to keep you logged in if you register.
By continuing to use this site, you are consenting to our use of cookies.

