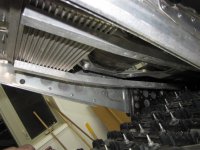
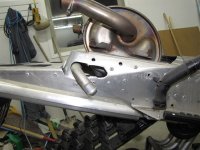
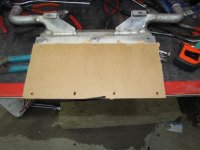
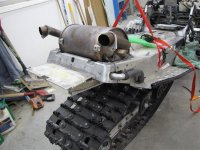
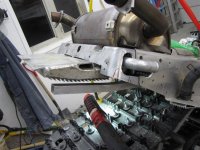
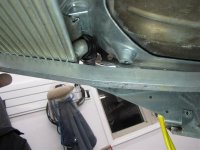
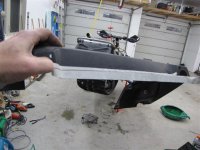
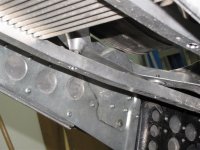
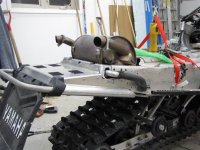
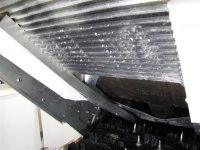
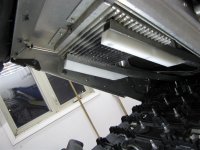
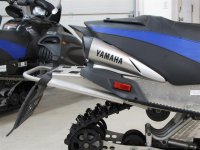
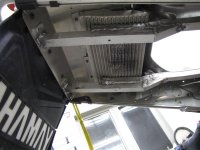
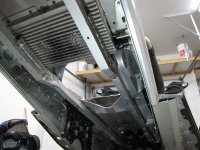
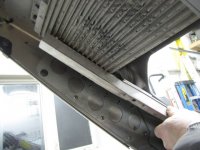
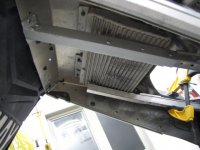
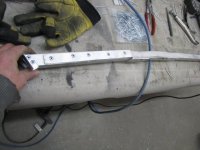
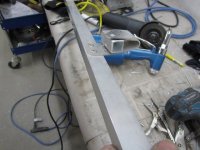
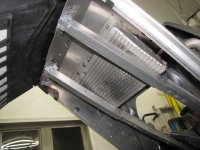
cut slots to remove the factory crossover tube.
Made a cardboard template of the rivet holes before test fitting the exchanger.
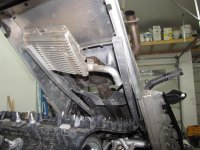
With the rear rivets removed from the protectors I removed the crossover tube and slid in the exchanger.
Made a cardboard template of the rivet holes before test fitting the exchanger.
With the rear rivets removed from the protectors I removed the crossover tube and slid in the exchanger.
Attachments
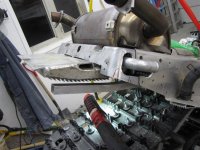
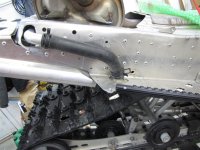
Added some neoprene to the pipes to help prevent any damage if the exchanger rattled slightly. The mounting tabs here also needed to be modded to fit its new location. The rear of the cast tunnel also need to holes for the pipes to be elongated up for the new location. Can also see in brown marker where the cast section needs to be trimmed for the tunnel ext to fit on its new angle/position
Attachments
New position of the rear tunnel ext. Used the most forward hole to start then angled it up as high as it would go to make the ext and cooler fit nice.
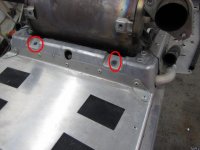
Trimmed the plastic hose cover to fit. Used a ss nut as a spacer on the protector and also used ss bolt and nylon lock nut to hold it into place.
Trimmed the plastic hose cover to fit. Used a ss nut as a spacer on the protector and also used ss bolt and nylon lock nut to hold it into place.
Attachments
Now just need snow to test. Should keep the sled cooler and keep my stuff from freezing in my tunnel bag. 

Irv
TY 4 Stroke God
- Joined
- Mar 23, 2005
- Messages
- 3,778
- Age
- 60
- Location
- ONT. Canada
- Country
- Canada
- Snowmobile
- 2008 40th Anniversary Vector.
1995 XLT SP (Son's)
Great job Steiner! 

yamahahaapex
TY 4 Stroke Master
your gonna love having a rear heat exchanger. i removed my stud protector pipes from the tunnel as ill never ever stud the machine for the conditions i ride in but after those bars were removed it got rid of the ice problem almost completely. good work
monte1214
TY 4 Stroke Guru
- Joined
- Apr 20, 2005
- Messages
- 752
- Location
- Durham Region, ON
- Website
- www.portperrysnowmobileclub.com
- Country
- Canada
- Snowmobile
- 2017 Sidewinder LTX-SE
- Looks good!
- Have you tested it yet?
- Have you tested it yet?
Got 135 miles withit now. Works good. Have not overheated on these warm days with marginal sticky snow. With running studs I found out that I need to add some more to the protectors. The way it was in the pics above the studs where hitting the exchanger. Have some solid 1" plastic sticks added on now. Now I need to get out and test again.
You can see in the second pic of the damage the studs did to the exchanger before I added the extra palstic strip
You can see in the second pic of the damage the studs did to the exchanger before I added the extra palstic strip
Attachments
monte1214
TY 4 Stroke Guru
- Joined
- Apr 20, 2005
- Messages
- 752
- Location
- Durham Region, ON
- Website
- www.portperrysnowmobileclub.com
- Country
- Canada
- Snowmobile
- 2017 Sidewinder LTX-SE
- Have you had a chance to test it with the new strips on there?
- I put a 3rd hx on mine and the studs are "kissing" the hx a tiny bit.
- Wondering what to put on?
- I put a 3rd hx on mine and the studs are "kissing" the hx a tiny bit.
- Wondering what to put on?
Just put on another 400 miles. The 1" x 3/4" plastic strips are doing the job. I painted the exchanger black to aid in finding any new hits from the studs. Exchanger is still black
Little update. Using the plastic bars kept the pics off the cooler but the trade off was the large holes I made to rivet them on tore out the lugs on the track.
Made some new ones now out of aluminum. You can knock the weld job. I did not do it . My friend's buddy did it as a favor for us.
Made some new ones now out of aluminum. You can knock the weld job. I did not do it . My friend's buddy did it as a favor for us.
Attachments
Changed the protectors slightly for the new Ice Attack track. Don't think I need as deep as protection as I needed for the studded Ripsaw. The Ice Attack has full paddles verses the Ripsaw that has fingers that can lay over when contacting the protectors allowing the studs to penetrate deeper. I had another set of tunnel protectors and the shelf so I modified them. If this does not work I can always put the other ones back on.
Started with some 1" square tubing. Cut a slot in it to allow it to slip over the factory protector. Adjusted and fitted it in place. Added a reinforcement strip to the cut side. As the 07 does not come factory with a rear cooler I needed to space the protectors down a little bit under the muffler area where they attach. I also stiffened up the tunnel mounts of the protectors with some 3/4 tubing so they will not collapse allowing the studs to hit the exhaust.
Started with some 1" square tubing. Cut a slot in it to allow it to slip over the factory protector. Adjusted and fitted it in place. Added a reinforcement strip to the cut side. As the 07 does not come factory with a rear cooler I needed to space the protectors down a little bit under the muffler area where they attach. I also stiffened up the tunnel mounts of the protectors with some 3/4 tubing so they will not collapse allowing the studs to hit the exhaust.
Attachments
Last edited:
Similar threads
- Replies
- 2
- Views
- 1K
-
This site uses cookies to help personalise content, tailor your experience and to keep you logged in if you register.
By continuing to use this site, you are consenting to our use of cookies.


