subaru2006
TY 4 Stroke Junkie
- Joined
- Nov 1, 2008
- Messages
- 734
- Reaction score
- 41
- Points
- 738
- Location
- Minooka, IL
- Country
- USA
- Snowmobile
- 2016 Polaris SBA
sick looking sled.... keep it up
subaru2006
subaru2006

kinger
VIP Member
- Joined
- Jan 17, 2005
- Messages
- 7,422
- Reaction score
- 1,556
- Points
- 1,963
- Location
- Clear Lake, IA
- Website
- www.piergenius.com
UPDATE: Gauge pod finished ready to mount to bars
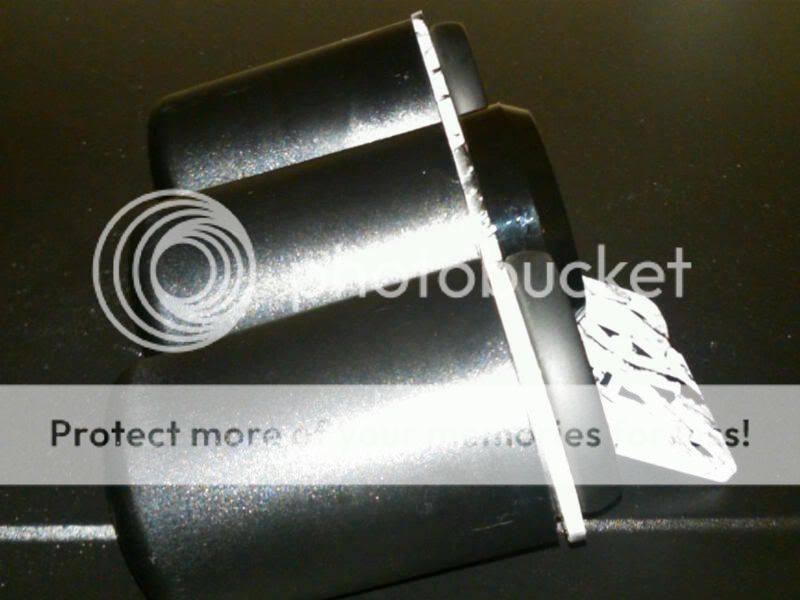
As I stated I decided my first pod would be used in the middle and then I only had to make one cut which removed the mounting tabs as well and made for a nice clean cover for the back of the gauge. Here is the cut that is required:
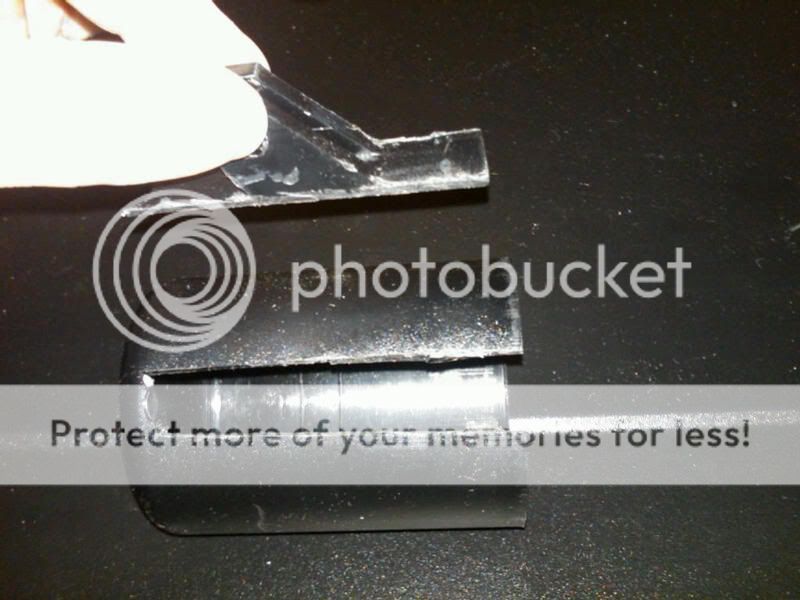
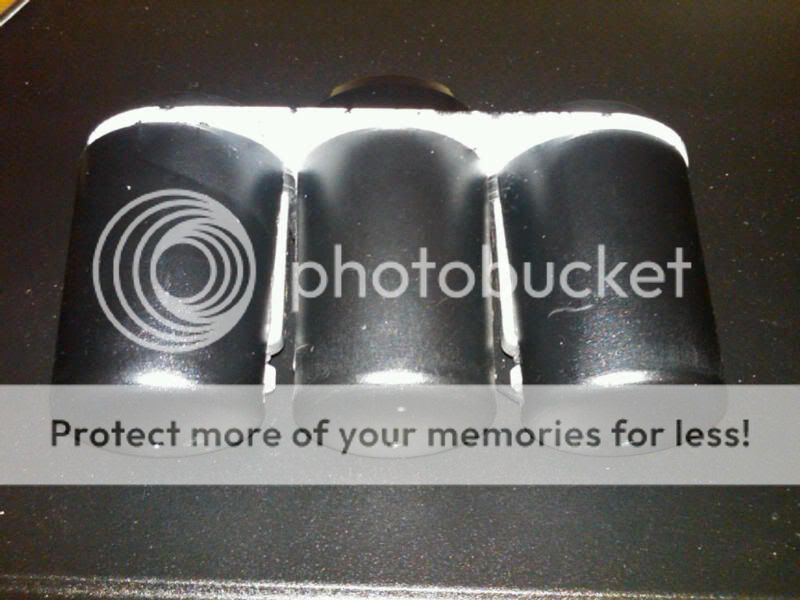
I did that on both the outer cups and the fitment was checked and it looked good.
The sharp knife wasn't cutting it (pun intented) and so I switched to a dremel cut off wheel. Problem was they are fragile and it took about 6 of them to make all the cuts LOL
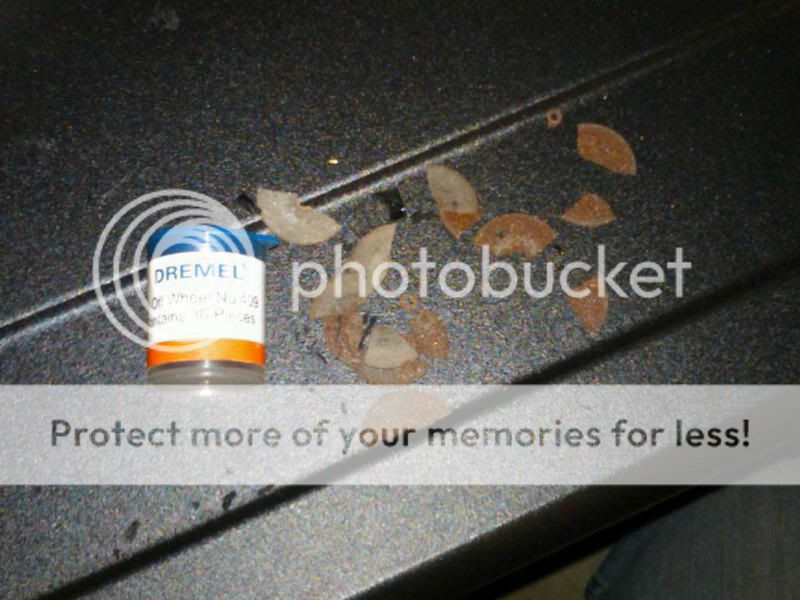
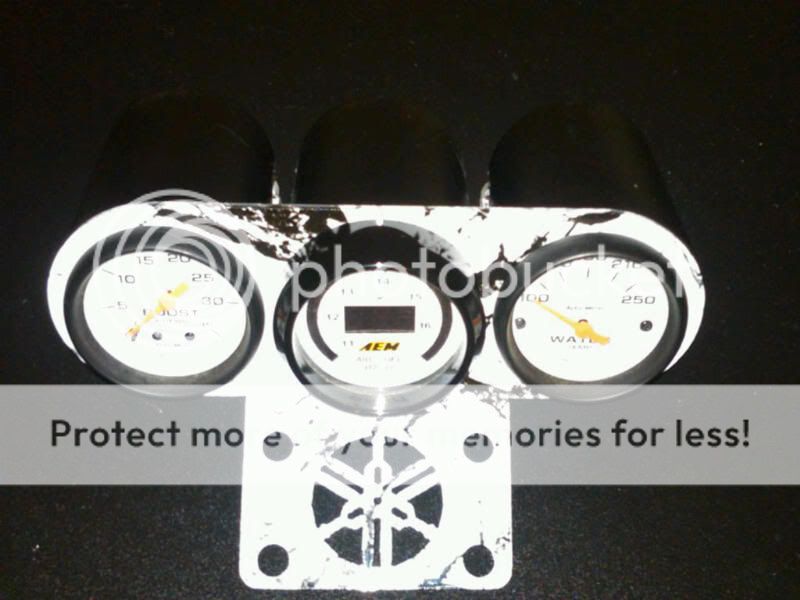
Then I moved on to the wiring, I drilled a small hole in the bottom of the cup and ran the wire through that as shown here:
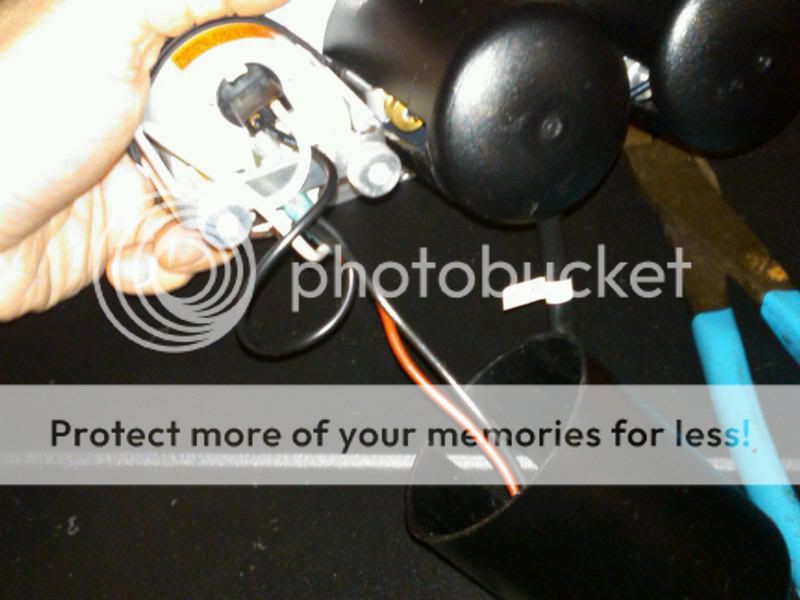
The final product before mounting them to the bars! I think it turned out great and looks nice and clean!
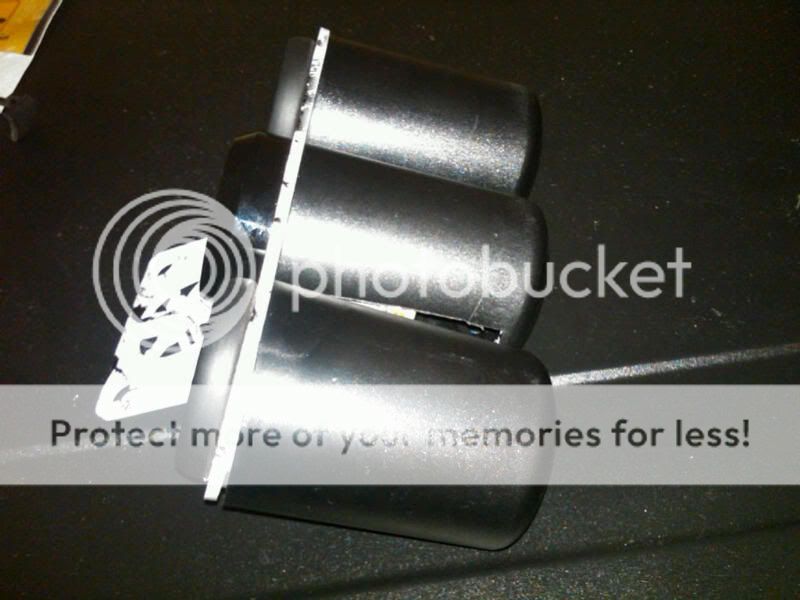
Next is getting them mounted and all the wires run nice and clean and blend it in with the existing wire loom coming up to the bars.

As I stated I decided my first pod would be used in the middle and then I only had to make one cut which removed the mounting tabs as well and made for a nice clean cover for the back of the gauge. Here is the cut that is required:

I did that on both the outer cups and the fitment was checked and it looked good.
The sharp knife wasn't cutting it (pun intented) and so I switched to a dremel cut off wheel. Problem was they are fragile and it took about 6 of them to make all the cuts LOL

Then I moved on to the wiring, I drilled a small hole in the bottom of the cup and ran the wire through that as shown here:

The final product before mounting them to the bars! I think it turned out great and looks nice and clean!


Next is getting them mounted and all the wires run nice and clean and blend it in with the existing wire loom coming up to the bars.

revster
TY 4 Stroke God
- Joined
- Aug 18, 2004
- Messages
- 1,752
- Reaction score
- 17
- Points
- 923
- Location
- La Salle MB
- Country
- Canada
- Snowmobile
- 2009 Yamaha Nytro RTX SE
Looks great! 
I love that crazy paint job!

I love that crazy paint job!

kinger
VIP Member
- Joined
- Jan 17, 2005
- Messages
- 7,422
- Reaction score
- 1,556
- Points
- 1,963
- Location
- Clear Lake, IA
- Website
- www.piergenius.com
UPDATE: Gauge pod mounted ready for wiring
Well this gauge pod is taking for freaking ever but I want teh wiring to be clean and factory looking as well as durable to the abuse of a sled. I am using all water tight connectors and lots of loom to protect from chaffing.
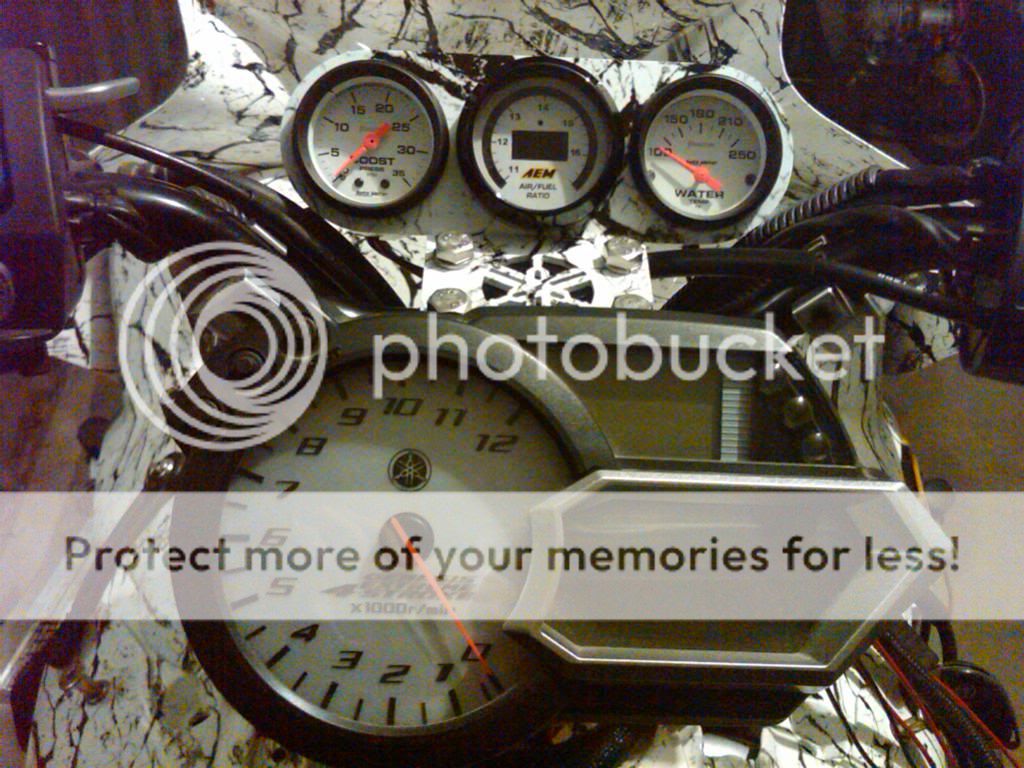
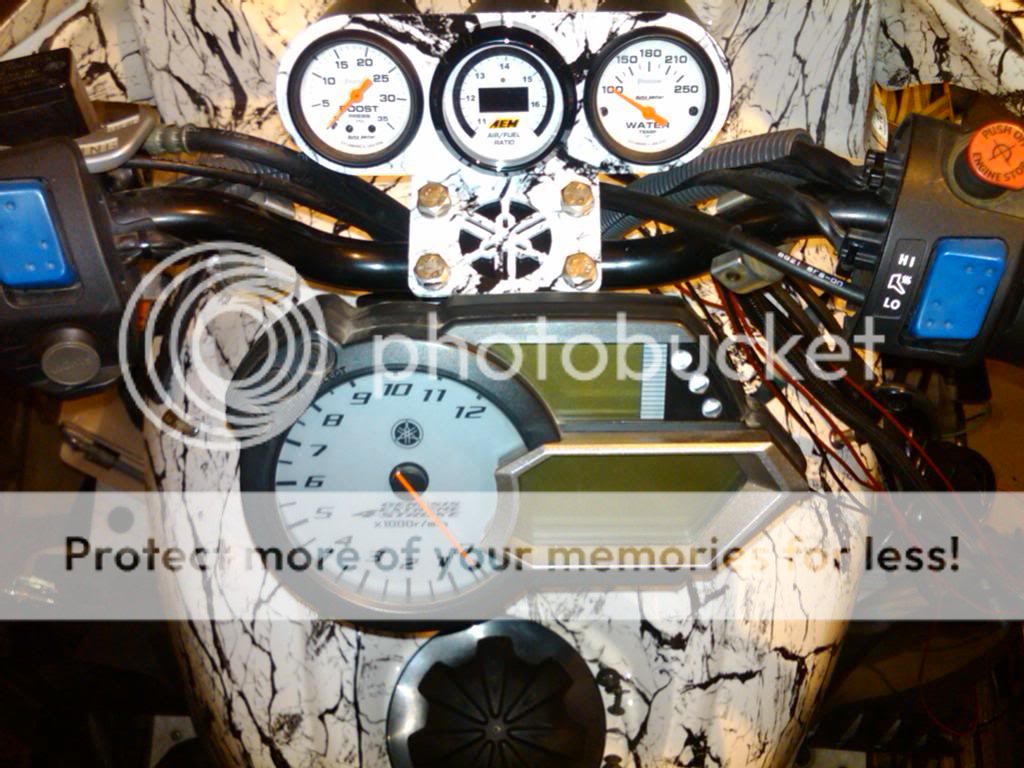
Here is a pict mounted as you sit on the throne of this beast:
Here is the same shot when standing up:
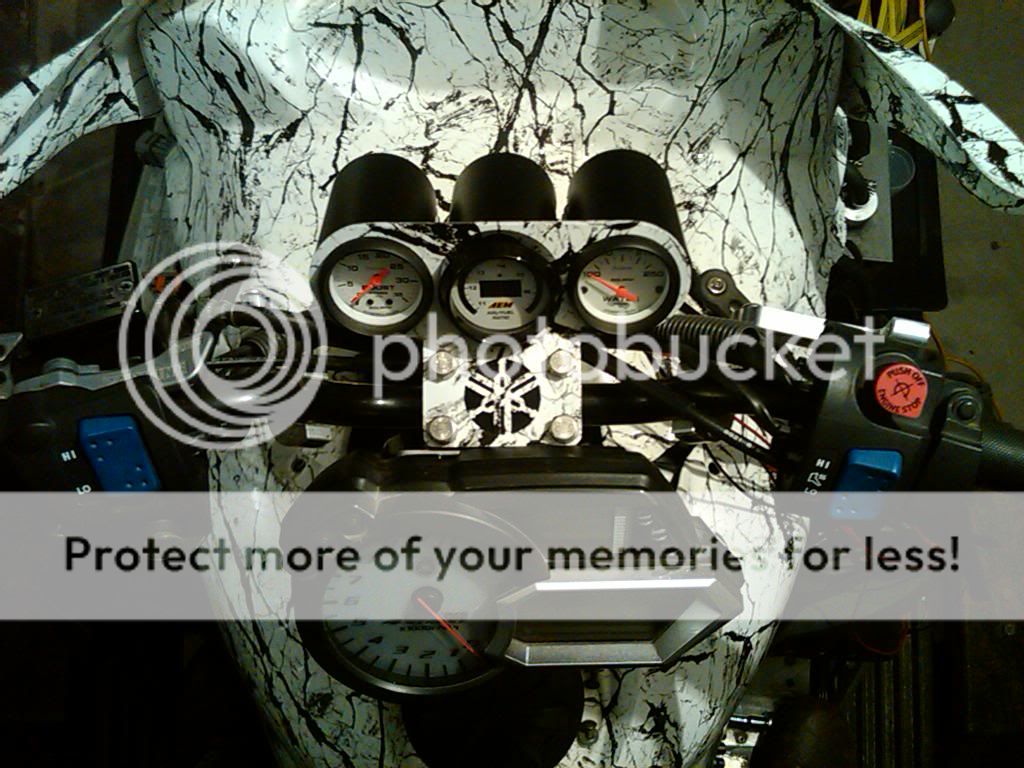
View of pod from top to see the water jet yam logo with the black lake effect risor shwoing through:
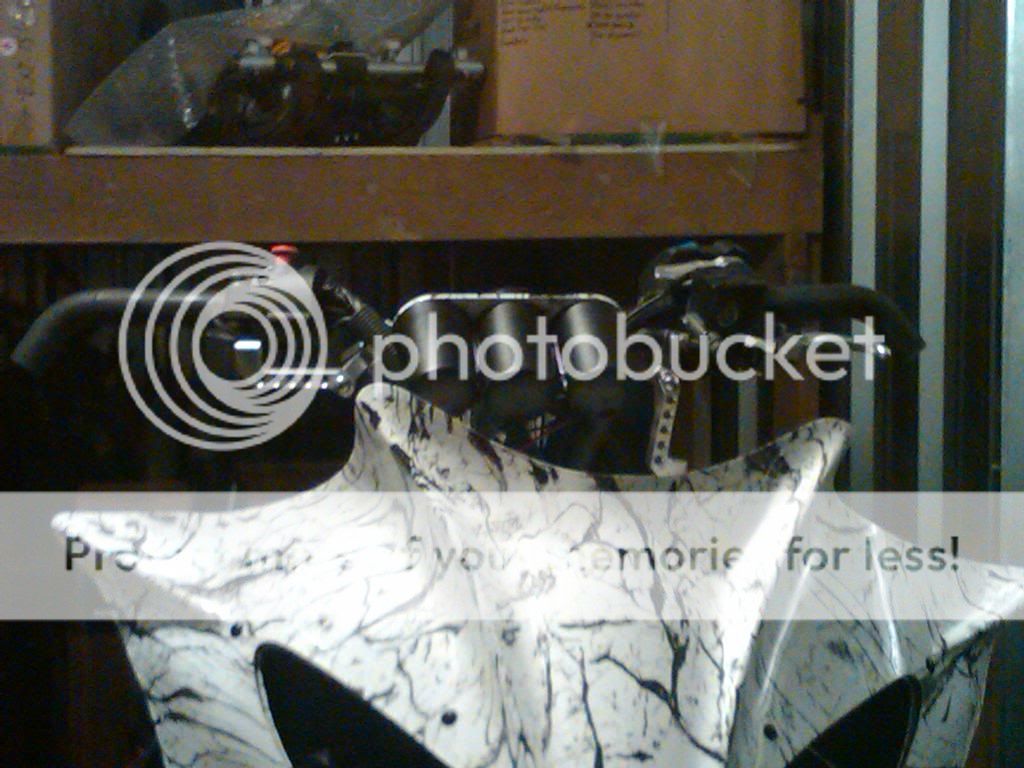
Here is the shot from the front of the sled, I didn't want the gauge pod to be this big bulky hunk of crap hanging off the bars I think it turned out great:
Next up using a weatherpack connector so I can unplug the entire set up very easily when I need to remove it.
Making progress slowly....
Well this gauge pod is taking for freaking ever but I want teh wiring to be clean and factory looking as well as durable to the abuse of a sled. I am using all water tight connectors and lots of loom to protect from chaffing.
Here is a pict mounted as you sit on the throne of this beast:

Here is the same shot when standing up:

View of pod from top to see the water jet yam logo with the black lake effect risor shwoing through:

Here is the shot from the front of the sled, I didn't want the gauge pod to be this big bulky hunk of crap hanging off the bars I think it turned out great:

Next up using a weatherpack connector so I can unplug the entire set up very easily when I need to remove it.
Making progress slowly....


kinger
VIP Member
- Joined
- Jan 17, 2005
- Messages
- 7,422
- Reaction score
- 1,556
- Points
- 1,963
- Location
- Clear Lake, IA
- Website
- www.piergenius.com
UPDATE: Using a weatherpack connection
This is the first time I used a weather pack connector and I must say they rule. Very easy to make water tight connections that are easily removeable. I got mine at NAPA.
Here is what you need for a 3 wire connector (they make them in all sizes)
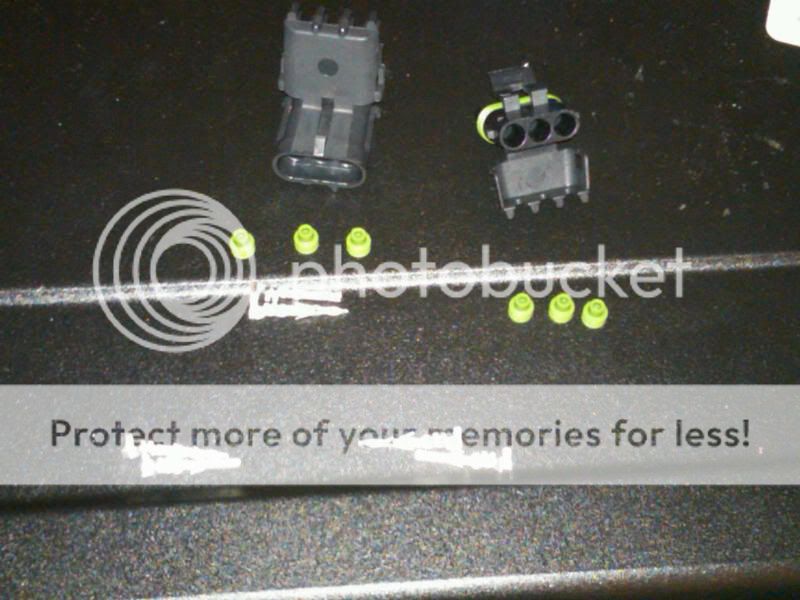
Make sure to put the seal on first then crimp the connectors
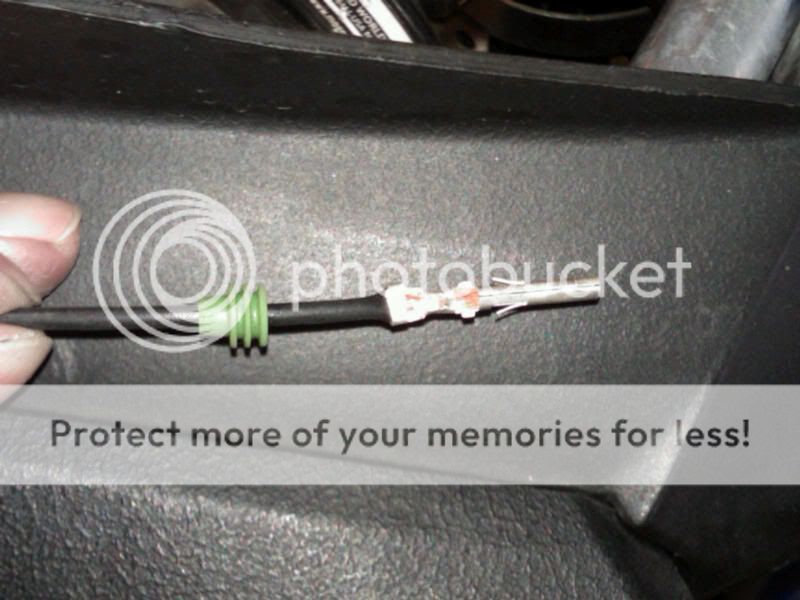
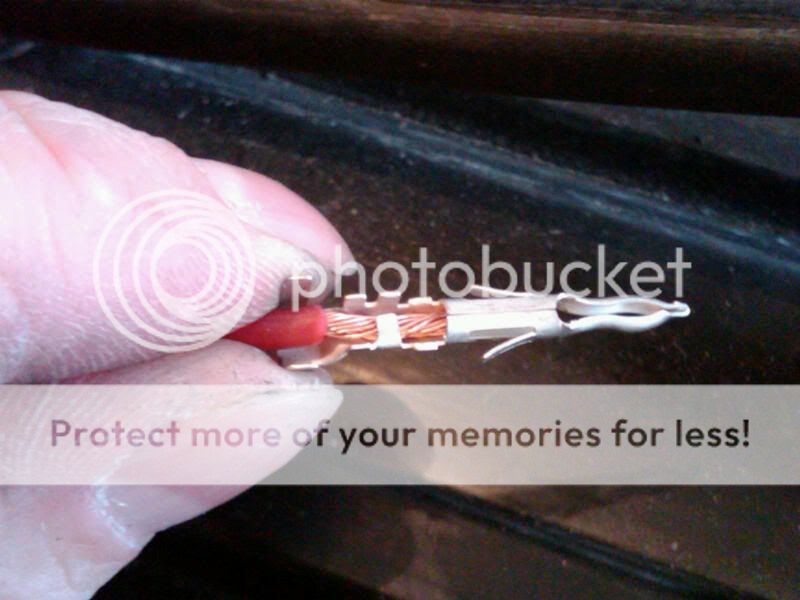
There asre two parts to the pin one for the wire and one for the insulation shown here is one crimp on the wire done for illustration:
Once crimped it just clicks into the connector:
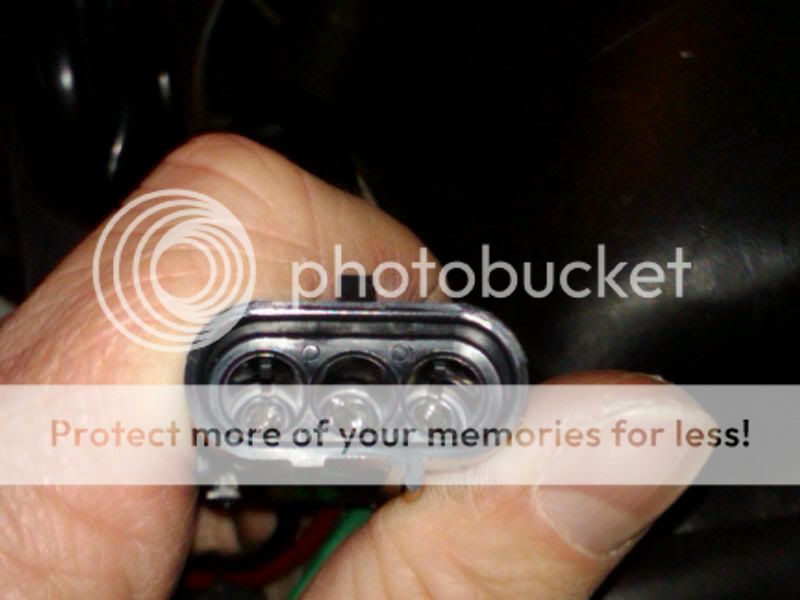
Once all the wires are in a locking lid closes and locks the seals in:
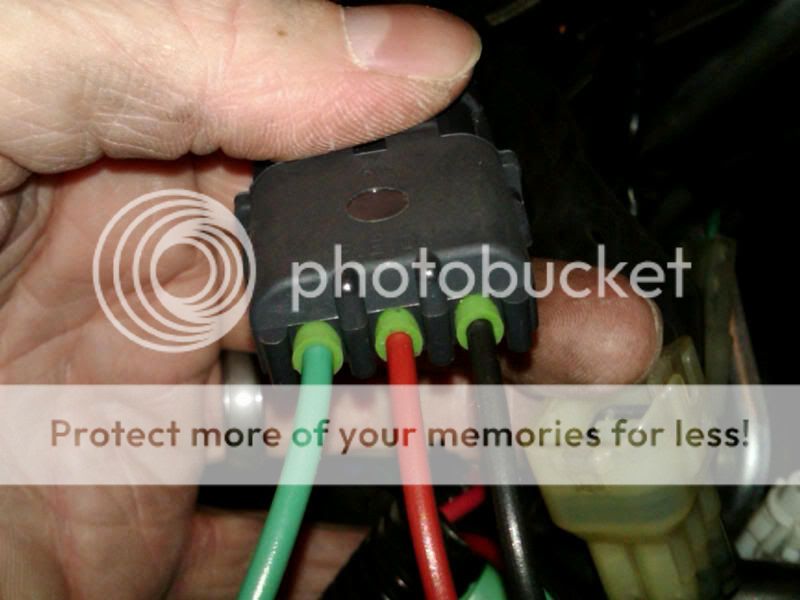
All done! Finally now I can get to gettn on running the wires cleaning everything up and making sure it all works.
Gauge pos is almost finished hooray!

This is the first time I used a weather pack connector and I must say they rule. Very easy to make water tight connections that are easily removeable. I got mine at NAPA.
Here is what you need for a 3 wire connector (they make them in all sizes)

Make sure to put the seal on first then crimp the connectors

There asre two parts to the pin one for the wire and one for the insulation shown here is one crimp on the wire done for illustration:

Once crimped it just clicks into the connector:

Once all the wires are in a locking lid closes and locks the seals in:

All done! Finally now I can get to gettn on running the wires cleaning everything up and making sure it all works.
Gauge pos is almost finished hooray!


kinger
VIP Member
- Joined
- Jan 17, 2005
- Messages
- 7,422
- Reaction score
- 1,556
- Points
- 1,963
- Location
- Clear Lake, IA
- Website
- www.piergenius.com
UPDATE: Gauge pod done and wired...finally
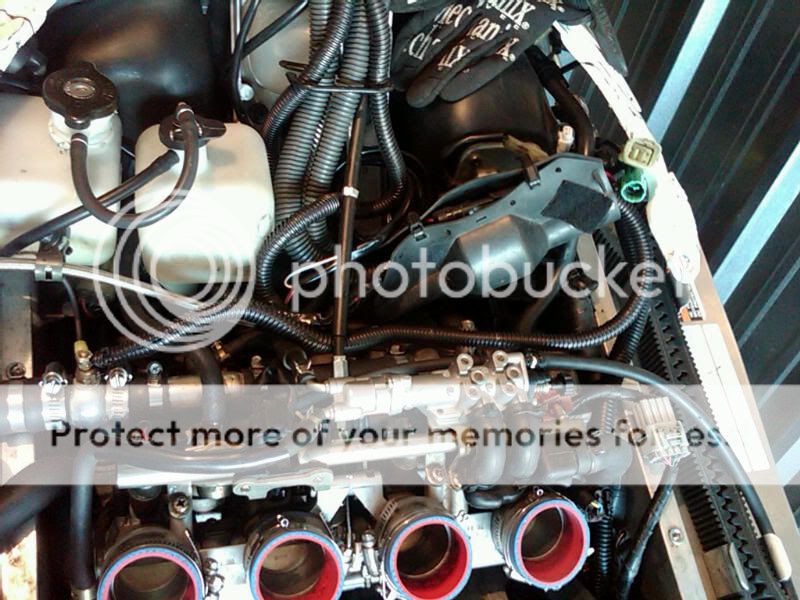
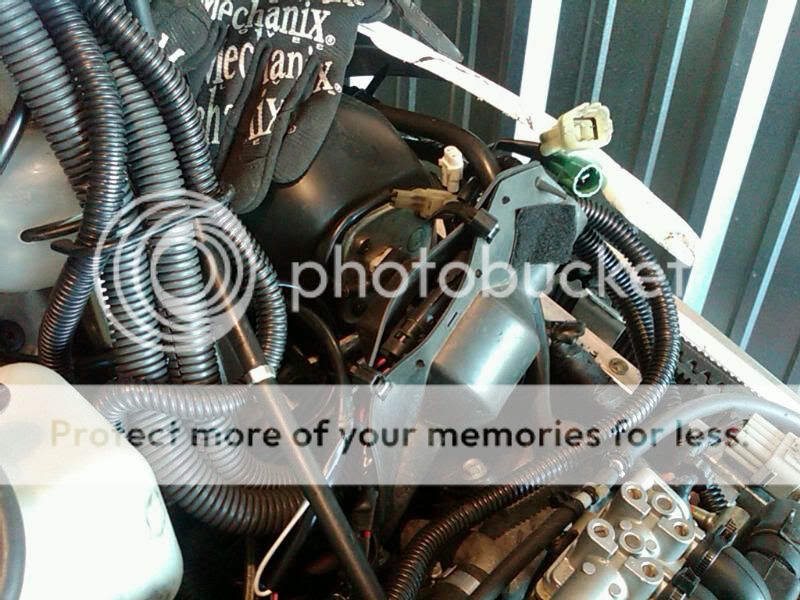
Wow the wiring took way longer then I expected just trying to make it clean.
Here is the wiring under the hood I tried to keep everything in the rubber boot and just have wire loom coming in and out of it:
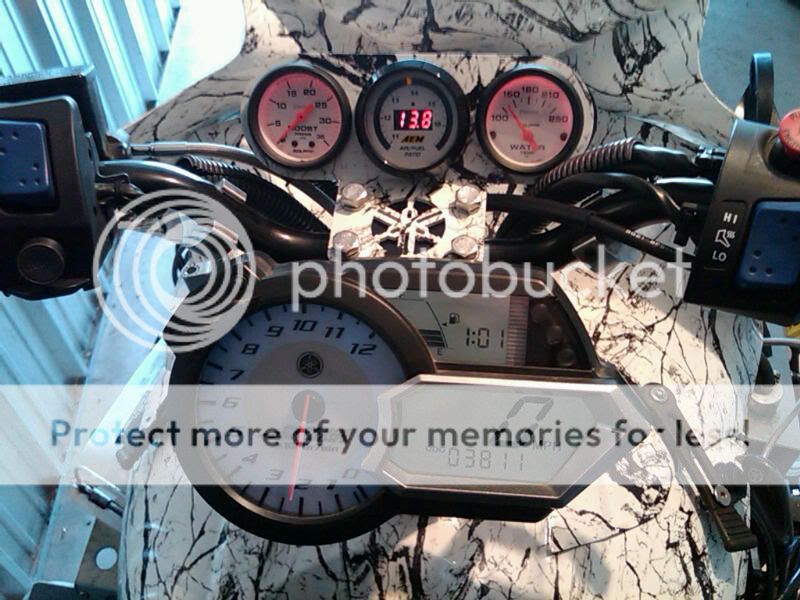
Here is the pod wired up and finished:
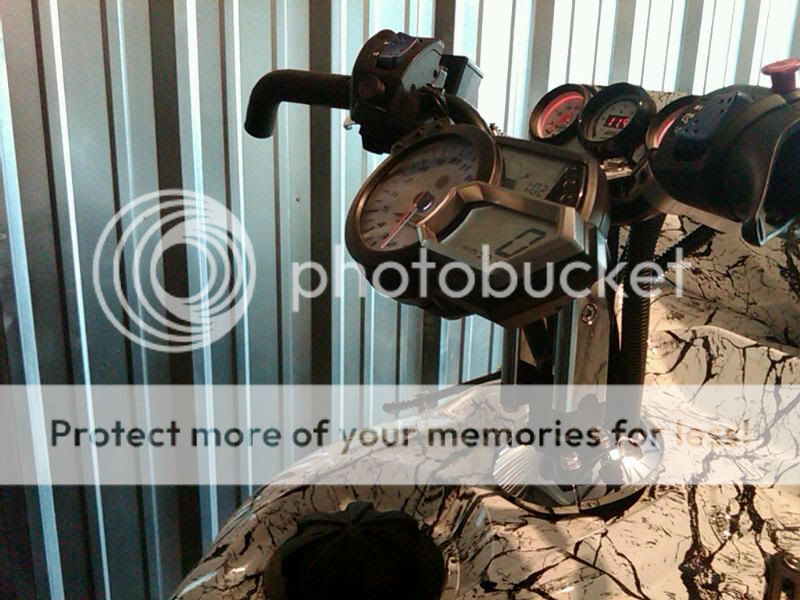
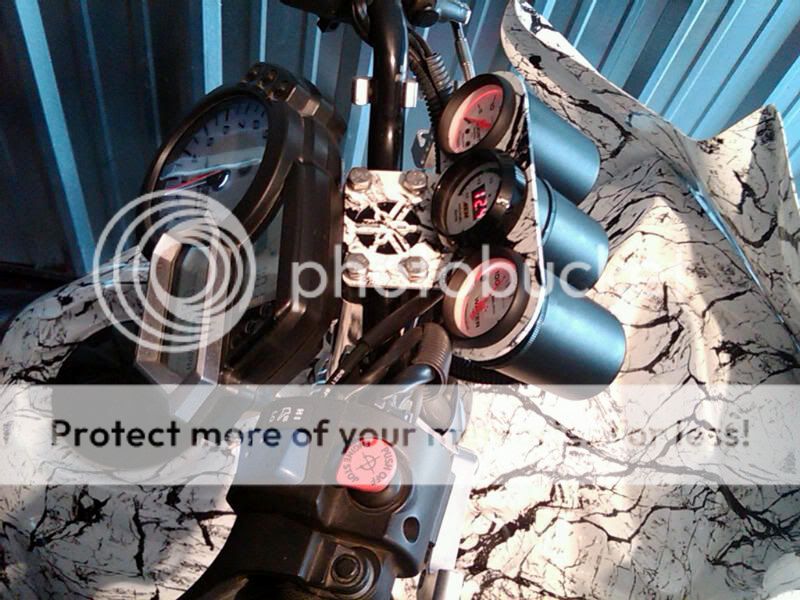
The shot while sitting on the seat.
While I was wiring I got some lights added to my new garage. Just need to add the electric hoist and mud and paint then I can get my cabinents up
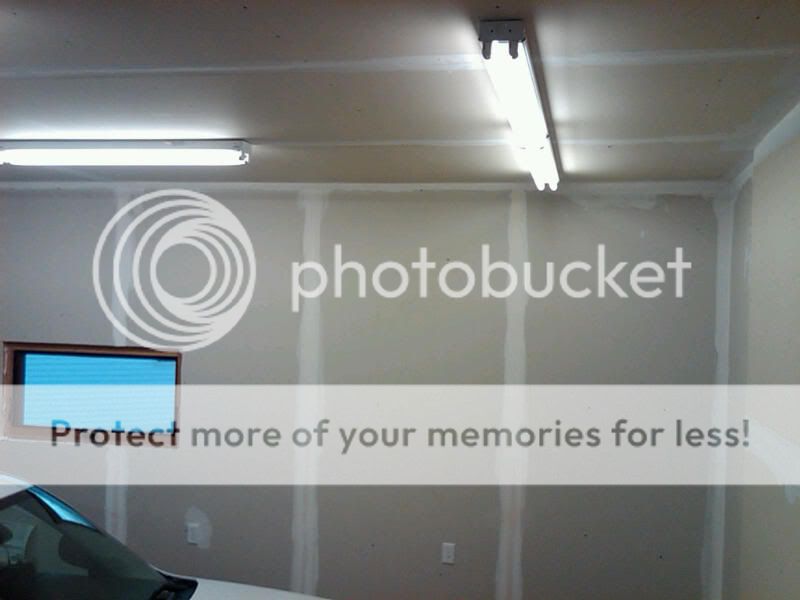
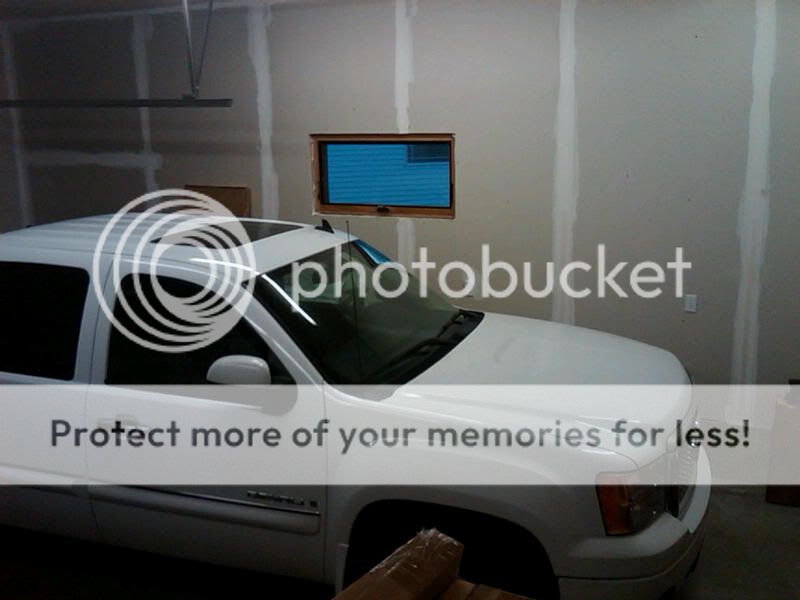
Its like daytime in there now with the T8 fixtures, outstanding light!
Back on the sled soon I can change the oil, chaincase, driveshaft and then put the body work back on!
Wow the wiring took way longer then I expected just trying to make it clean.
Here is the wiring under the hood I tried to keep everything in the rubber boot and just have wire loom coming in and out of it:


Here is the pod wired up and finished:


The shot while sitting on the seat.

While I was wiring I got some lights added to my new garage. Just need to add the electric hoist and mud and paint then I can get my cabinents up


Its like daytime in there now with the T8 fixtures, outstanding light!
Back on the sled soon I can change the oil, chaincase, driveshaft and then put the body work back on!
Yamaheart
Veteran
Excellent build I think your sled Is the best looking colour scheme ever
I love It great job
I love It great job
rxrider
Jan-Ove Pedersen
- Joined
- Apr 25, 2003
- Messages
- 7,355
- Reaction score
- 64
- Points
- 1,753
- Location
- Lakselv - 70N & 25E
- Country
- Norway
- Snowmobile
- 2014 Phazer XTX, 2013 Phazer RTX, 2008 Apex RTX, 2007 Warrior, 2006 Attak
Do you have snow yet, the wait must be killing you, your sled is so nice, the pods are no exception.
Jan-O
Jan-O

kinger
VIP Member
- Joined
- Jan 17, 2005
- Messages
- 7,422
- Reaction score
- 1,556
- Points
- 1,963
- Location
- Clear Lake, IA
- Website
- www.piergenius.com
No snow LOL it was 65 degrees F here yesterday and flat out beautiful, walked the dogs, and got some outside work done. Wont be long now and the snow will come.
This weekend the work on the sled resumes! Pictures coming shortly....
This weekend the work on the sled resumes! Pictures coming shortly....

kinger
VIP Member
- Joined
- Jan 17, 2005
- Messages
- 7,422
- Reaction score
- 1,556
- Points
- 1,963
- Location
- Clear Lake, IA
- Website
- www.piergenius.com
UPDATE: Chaincase regear and HD driveshaft w/Avid drivers
Got the sled into to swap out the driveshaft with a HD one from Micro Belmont 1 1/4" shaft vs the OEM shaft at 1 1/16"
Pulled the sled in and removed the Zx2, I forgot what a pain it is to remove the bolts on each side when they are connected to the same shaft and it just spins in there
Any got it out and brake off ready to remove chaincase cover:
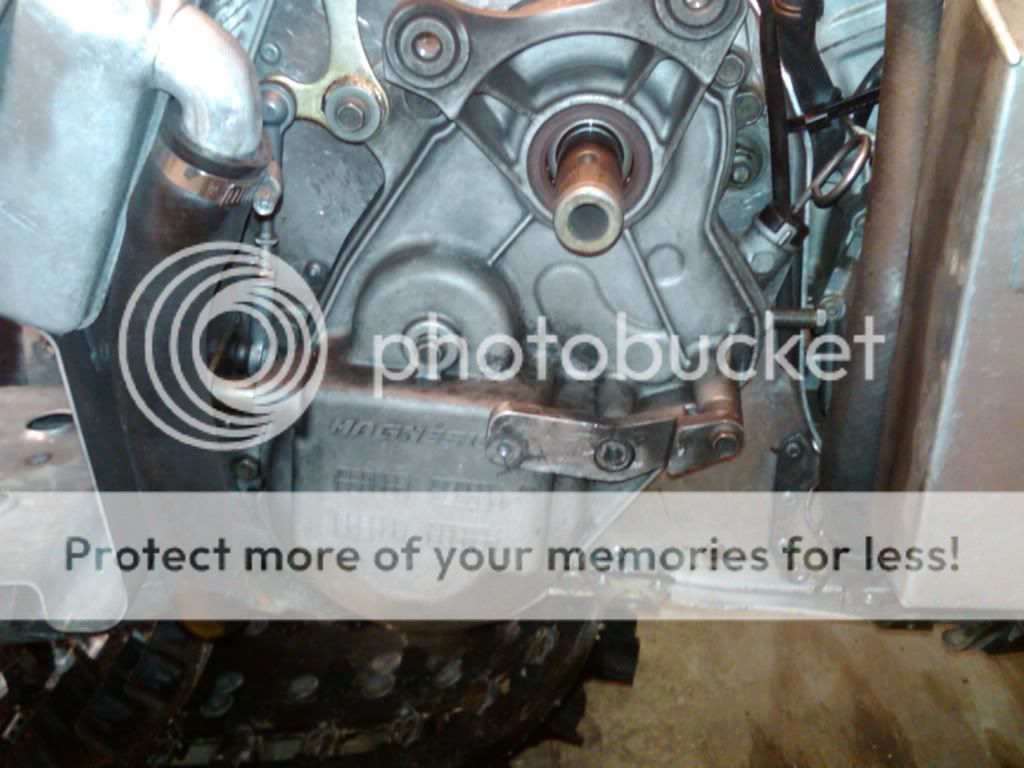
Once off I found this! Sludge build up, looks like my full sythetic gear lube completely broke down, I had to scoop it out with my fingers!
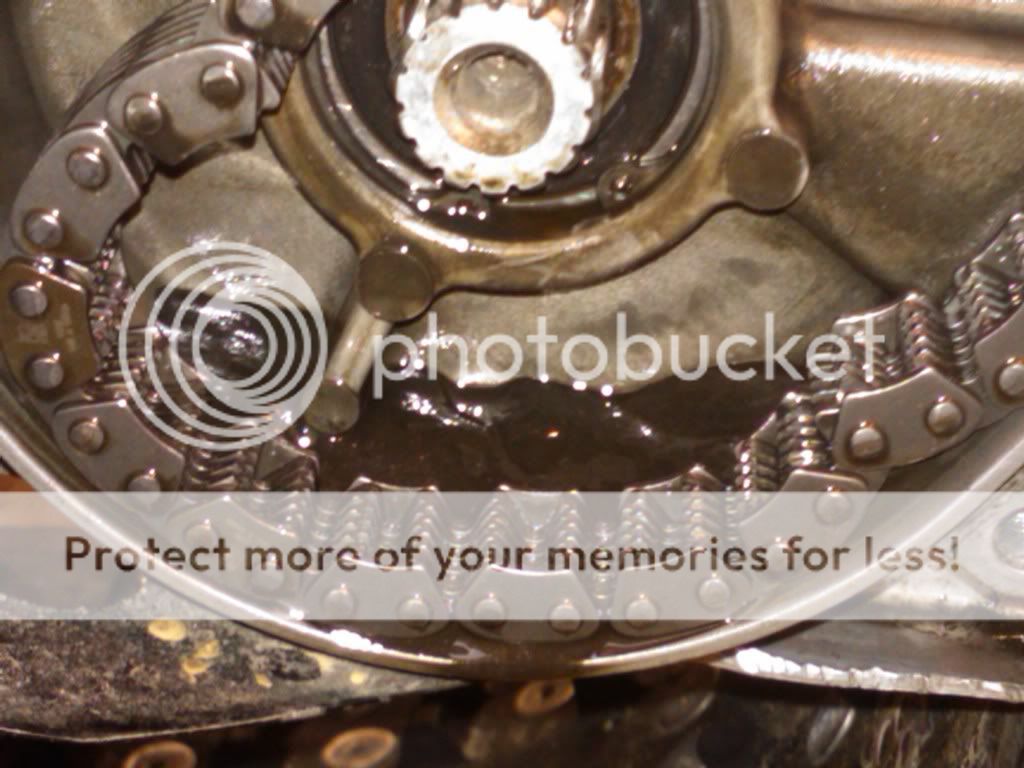
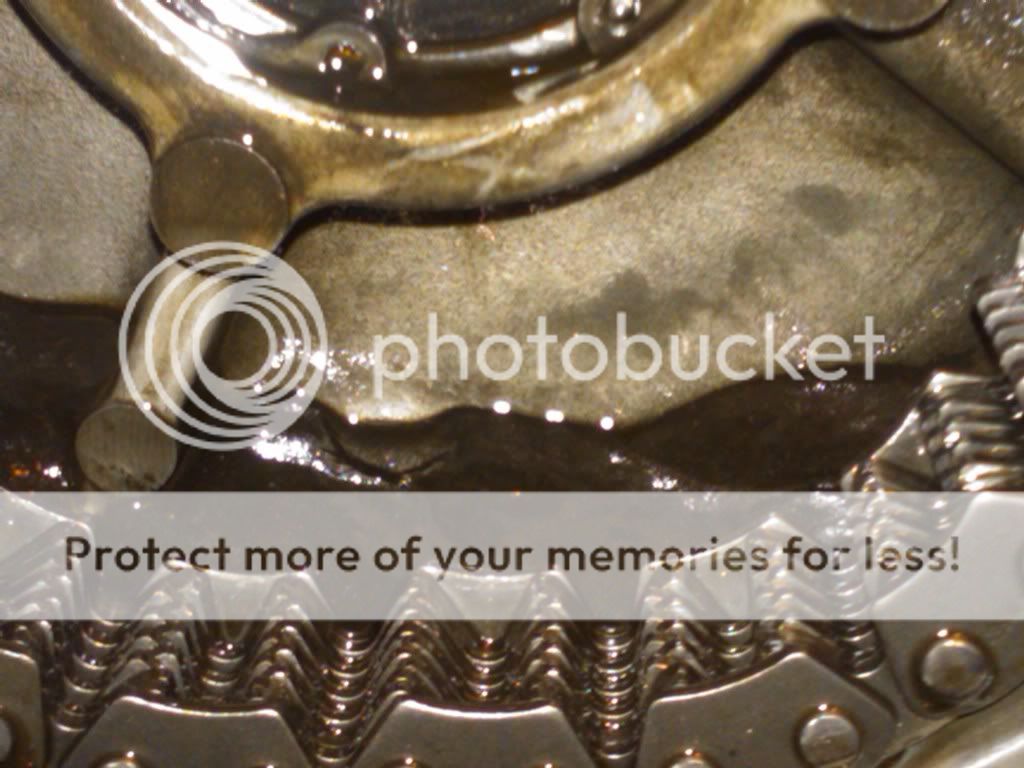
I found some Amsoil HD 75w90 and will fill with that and flush mid season this year to keep an eye on it.
To get the driveshaft out I had to remove the bracket on the secondary side and learned what happens when you pack the bearing too FULL:
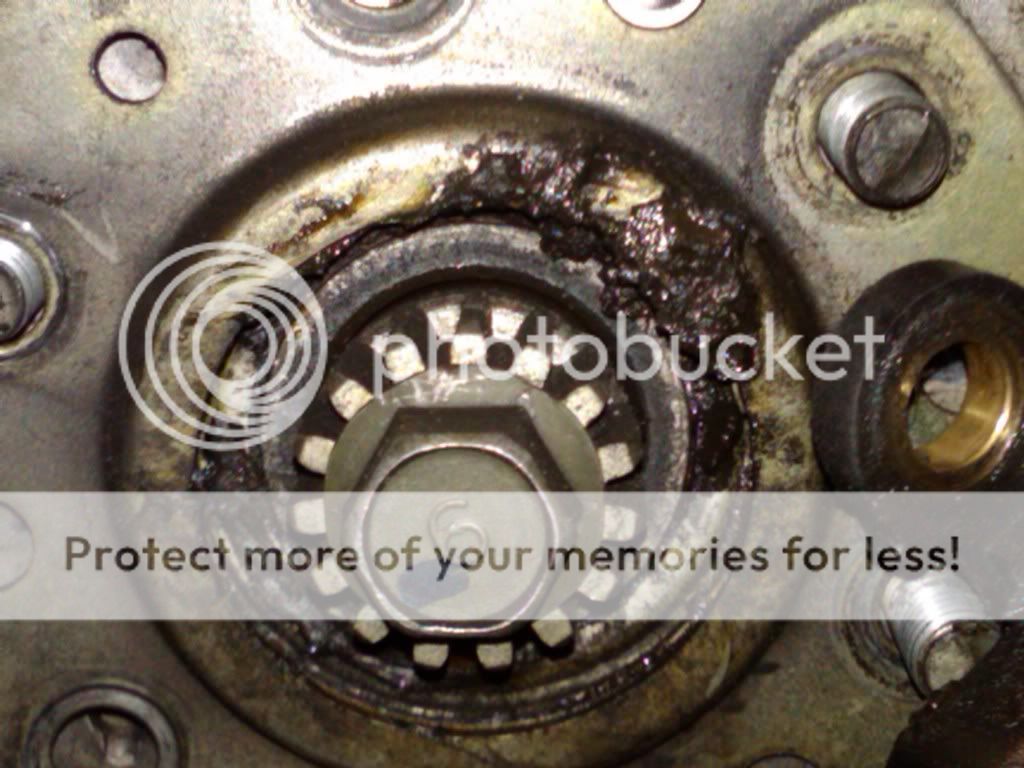

Here is the jackshaft bearing all cleaned up, I used brack kleen and compressed air to blow it clean:
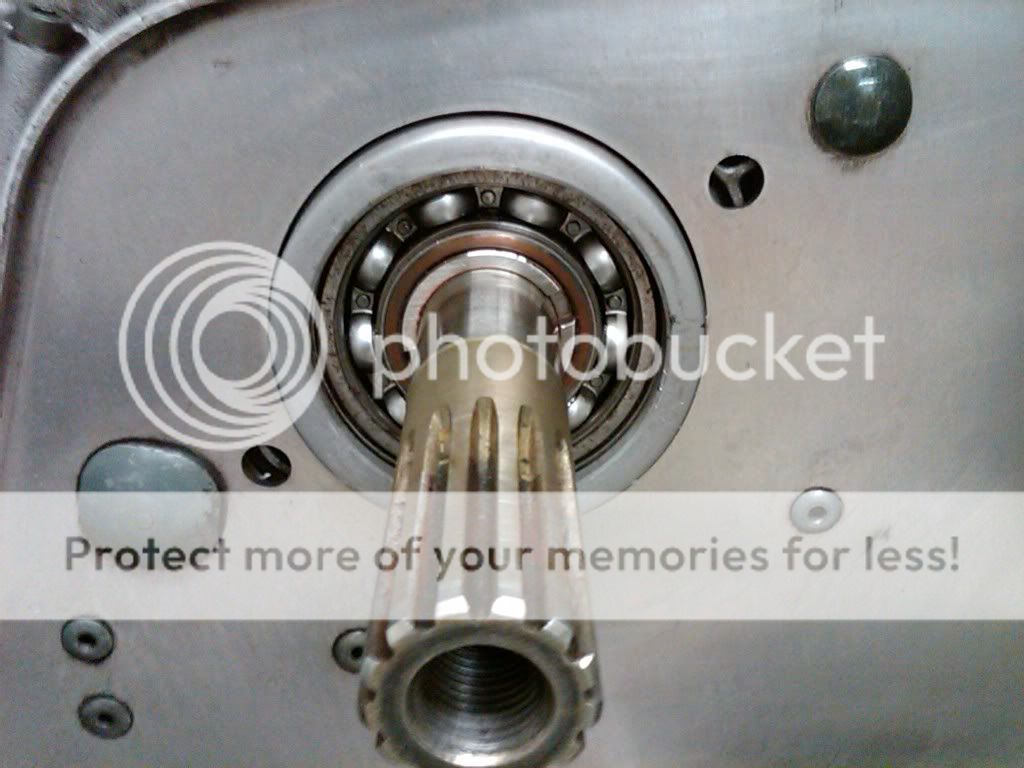
here the bearing is packed as your SUPPOSED to do it only 1/3 to 1/2 full of grease (found that from SJ and confirmed on amsoil site)
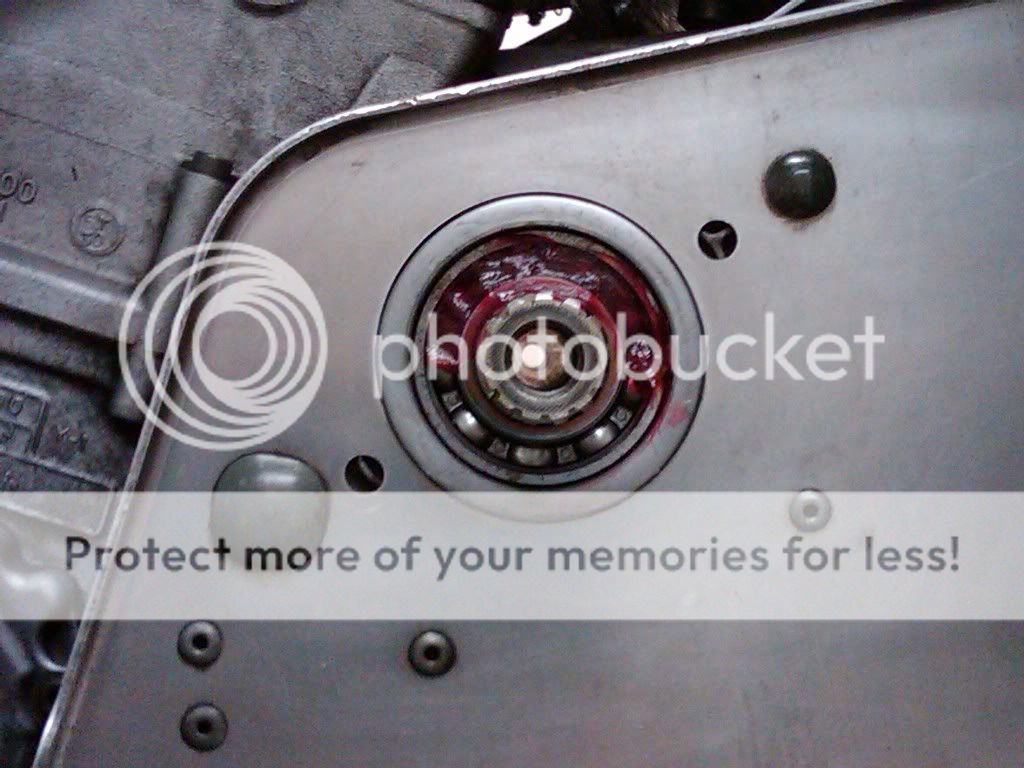
I'm using a new grease in that pict that has a low temp tq of 0.5 N-m compared to regular grease of 15 N-m, what that means is when its froze in the morning the effort required to spin the bearing is like a regular bearing in the summer. That is Amsoil grease NLGI #1 (GLB) located here:
http://www.amsoil.com/storefront/glb.aspx
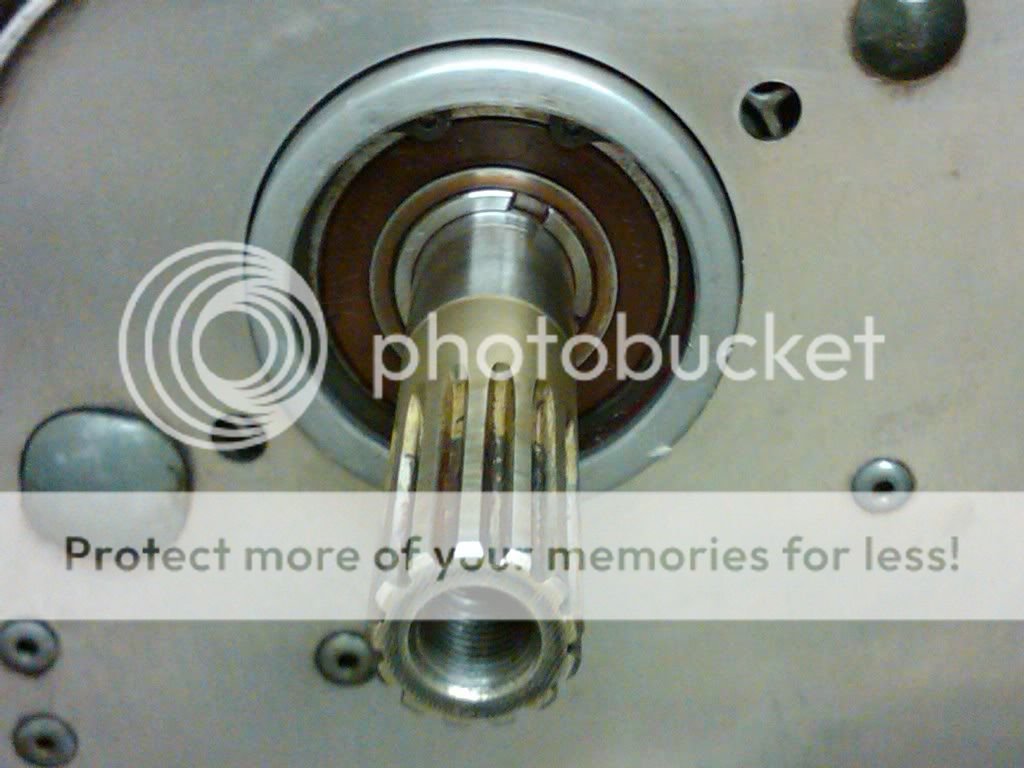
All cleaned up and ready to go:
Here is a compare of the stock driveshaft and doo drivers to the HD shaft with Avid drivers both are 9T:
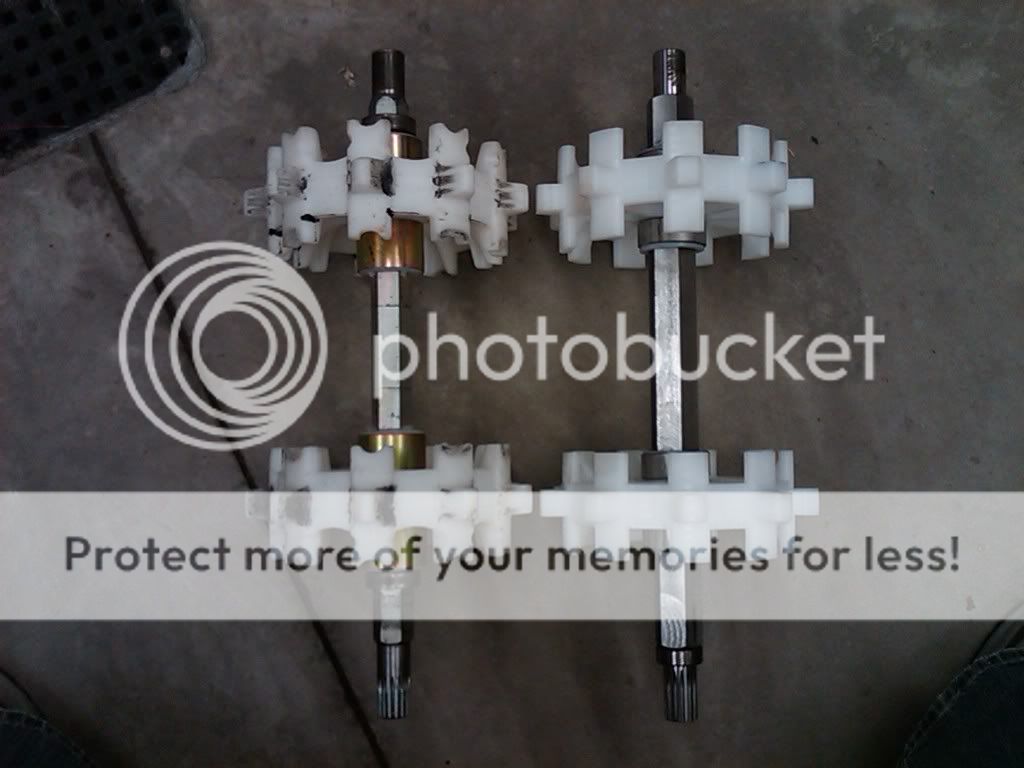
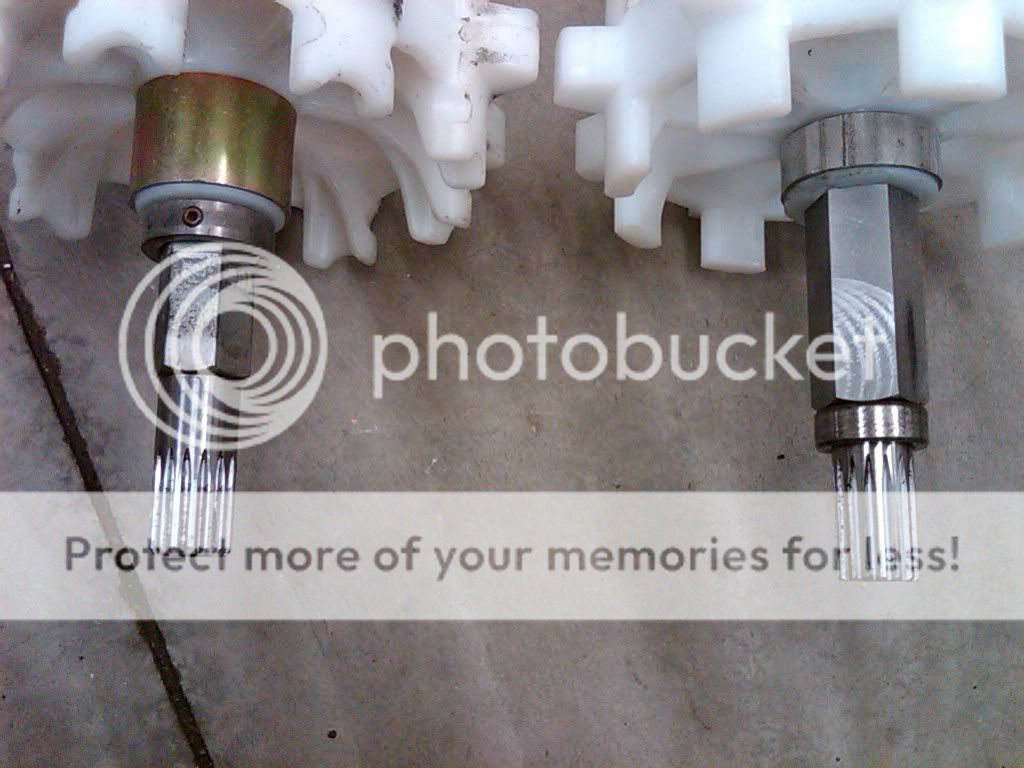
Ulmer called me on sunday and as I had a question about the locking collars on the stock shaft and they are not needed on the HD shaft. Also were both a little dissappointed with the lack of half moon cut outs on the intro drive compared to the Doo, for the money the doo drivers are still better too bad you can located them any more! The avids are more durable hopefully they dont vibrate without the half moon cut out for the side of the clips.
Once back in I found a 25T top gear and it fit with a 42 bottom gear! This bottom gear will have to go next year just forgot about it this year and need to ride another year out with it. It basically limits the tops speed to a well equipped stocker, I'll locate a 38T lower and get it changed out next year.
Here is the new 25/42 gearing:
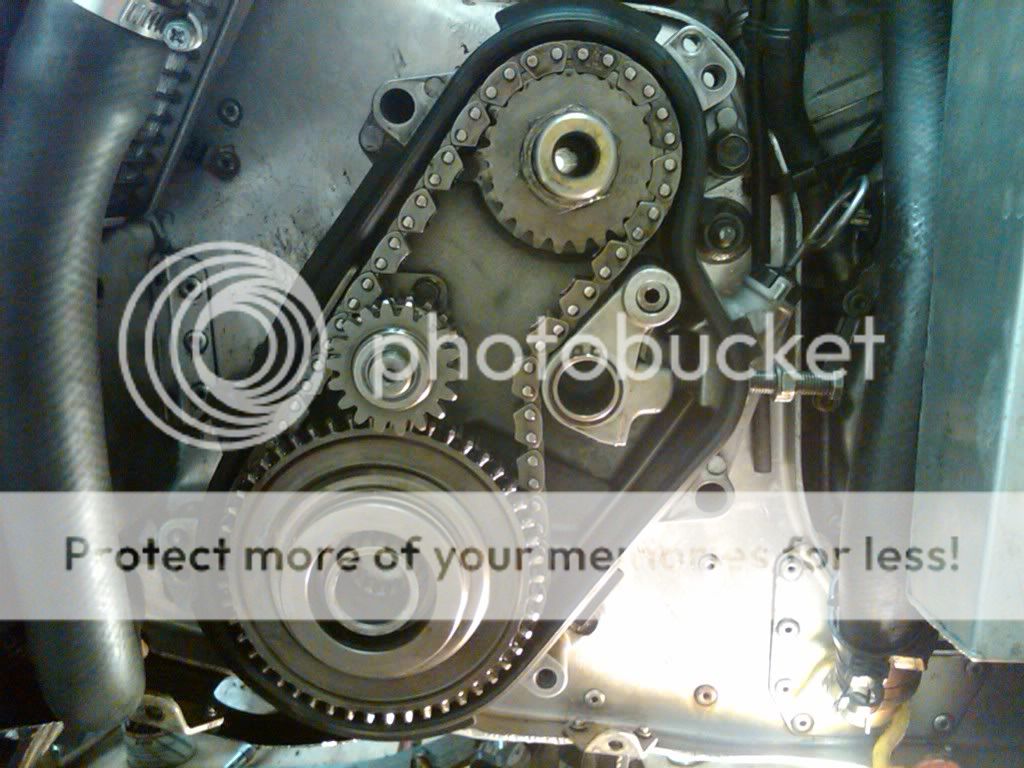
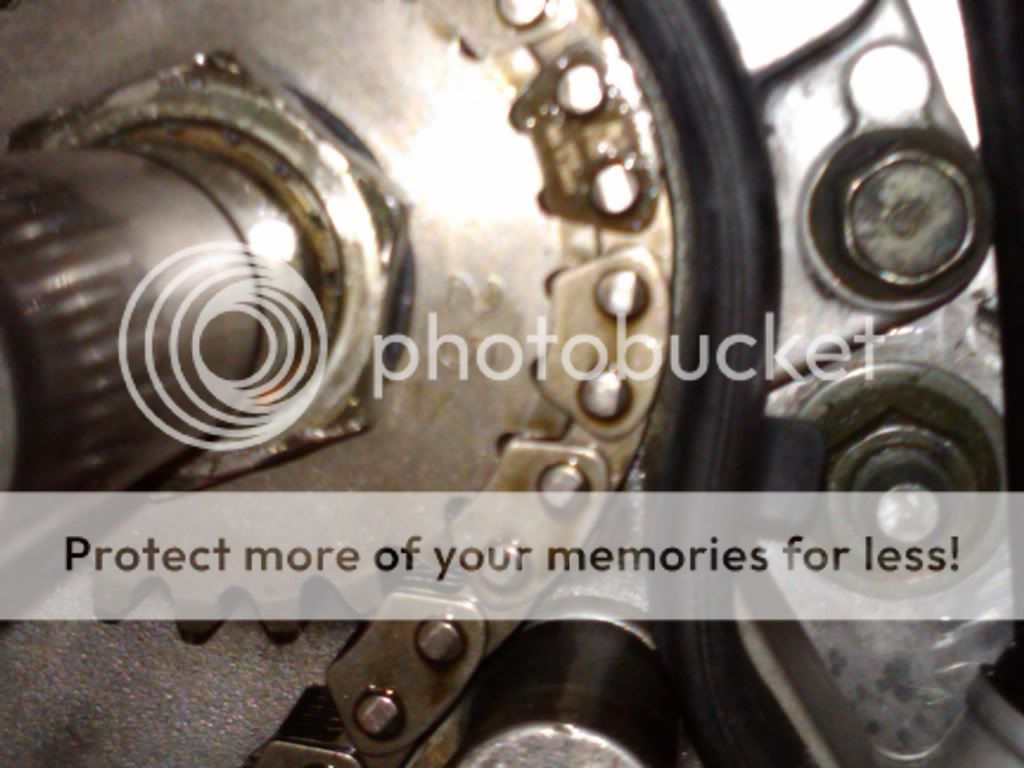
Chain case, and drive axle done for the year!
Got the sled into to swap out the driveshaft with a HD one from Micro Belmont 1 1/4" shaft vs the OEM shaft at 1 1/16"
Pulled the sled in and removed the Zx2, I forgot what a pain it is to remove the bolts on each side when they are connected to the same shaft and it just spins in there

Any got it out and brake off ready to remove chaincase cover:

Once off I found this! Sludge build up, looks like my full sythetic gear lube completely broke down, I had to scoop it out with my fingers!


I found some Amsoil HD 75w90 and will fill with that and flush mid season this year to keep an eye on it.
To get the driveshaft out I had to remove the bracket on the secondary side and learned what happens when you pack the bearing too FULL:


Here is the jackshaft bearing all cleaned up, I used brack kleen and compressed air to blow it clean:

here the bearing is packed as your SUPPOSED to do it only 1/3 to 1/2 full of grease (found that from SJ and confirmed on amsoil site)

I'm using a new grease in that pict that has a low temp tq of 0.5 N-m compared to regular grease of 15 N-m, what that means is when its froze in the morning the effort required to spin the bearing is like a regular bearing in the summer. That is Amsoil grease NLGI #1 (GLB) located here:
http://www.amsoil.com/storefront/glb.aspx
All cleaned up and ready to go:

Here is a compare of the stock driveshaft and doo drivers to the HD shaft with Avid drivers both are 9T:


Ulmer called me on sunday and as I had a question about the locking collars on the stock shaft and they are not needed on the HD shaft. Also were both a little dissappointed with the lack of half moon cut outs on the intro drive compared to the Doo, for the money the doo drivers are still better too bad you can located them any more! The avids are more durable hopefully they dont vibrate without the half moon cut out for the side of the clips.
Once back in I found a 25T top gear and it fit with a 42 bottom gear! This bottom gear will have to go next year just forgot about it this year and need to ride another year out with it. It basically limits the tops speed to a well equipped stocker, I'll locate a 38T lower and get it changed out next year.
Here is the new 25/42 gearing:


Chain case, and drive axle done for the year!

kinger
VIP Member
- Joined
- Jan 17, 2005
- Messages
- 7,422
- Reaction score
- 1,556
- Points
- 1,963
- Location
- Clear Lake, IA
- Website
- www.piergenius.com
Update: Truck bed lining floor boards and dying seat
The black tunnel is my favorite part of the sled but it always looks so tacky with the worn off parts where you ride. So since you can get spray bed liner from duplicolor in a aerosol I decided to try that.
First you must rough up the board with 150 grit sand paper:
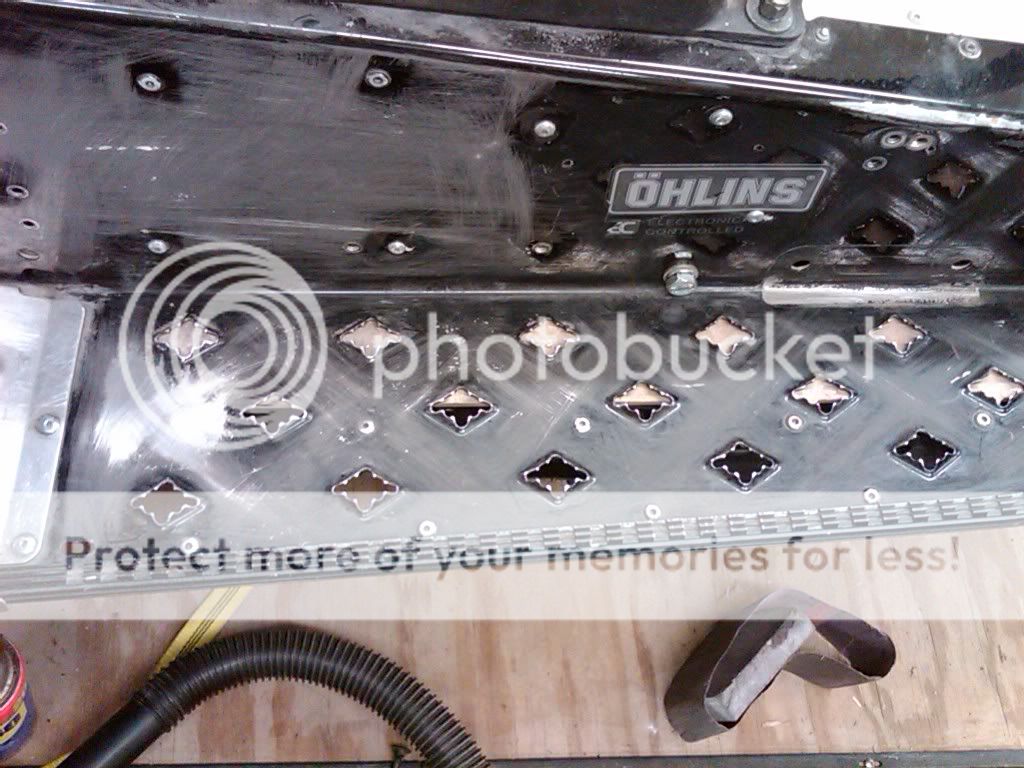
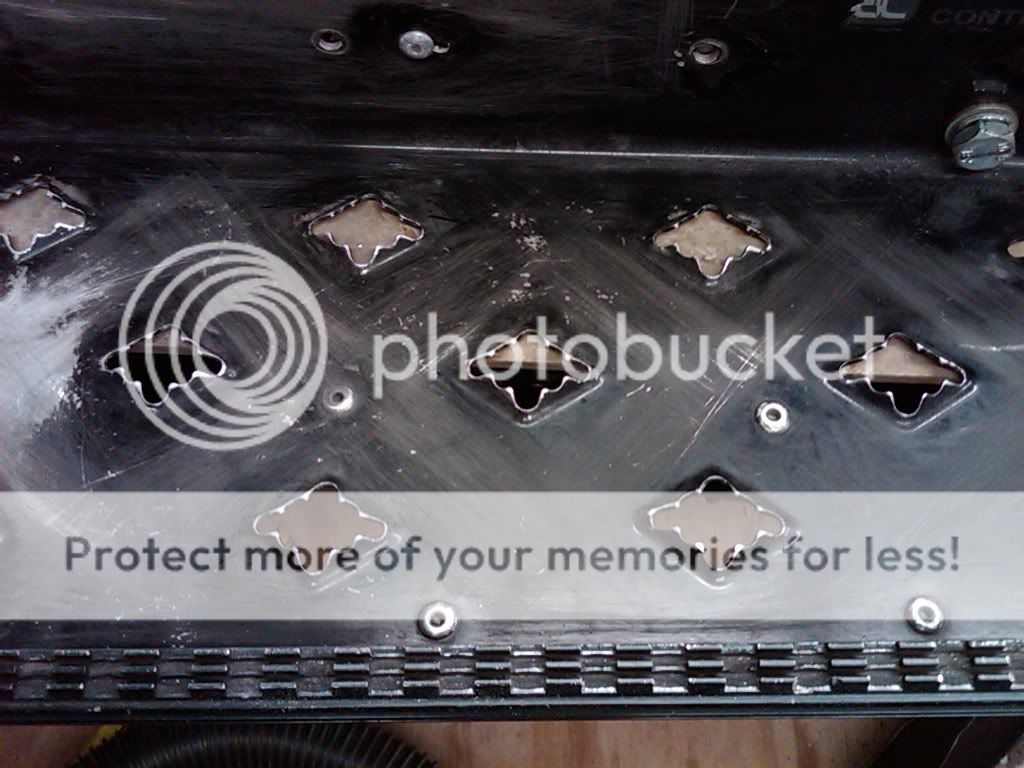
Then mask every thing off:
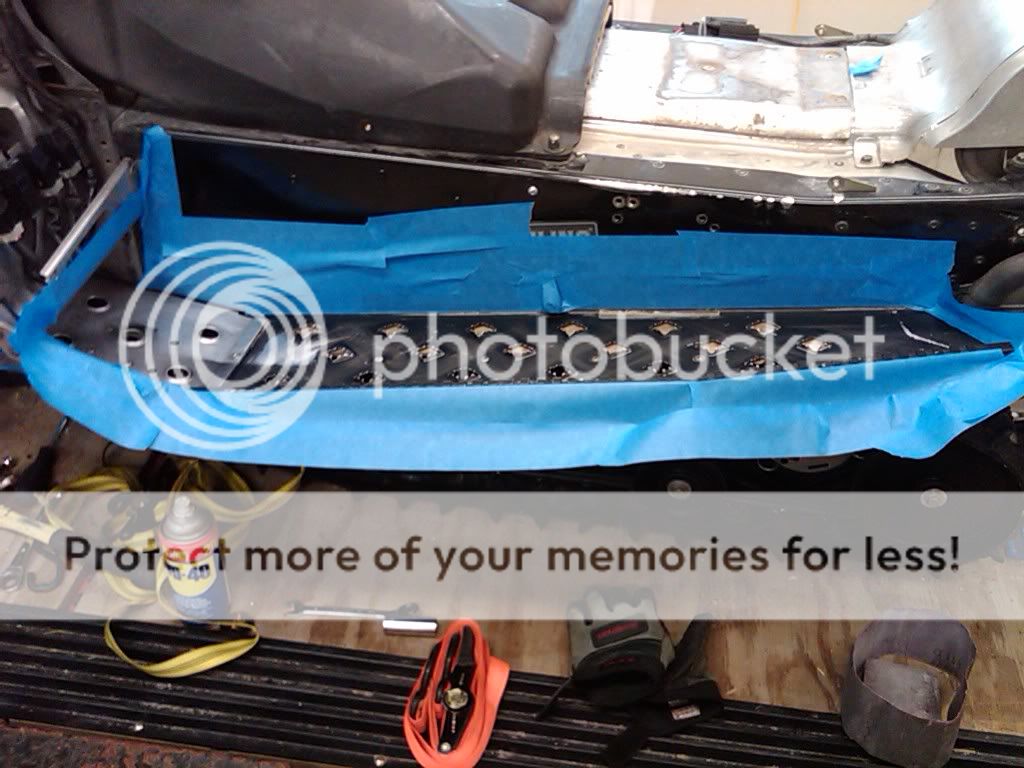
Give a light coat, then a med coat and let set about 10 minutes, it almost dries by then! I gave it 3-4 coats in the foort well where my boot rides and hope it holds! The finish on it turned out awesome I think!:
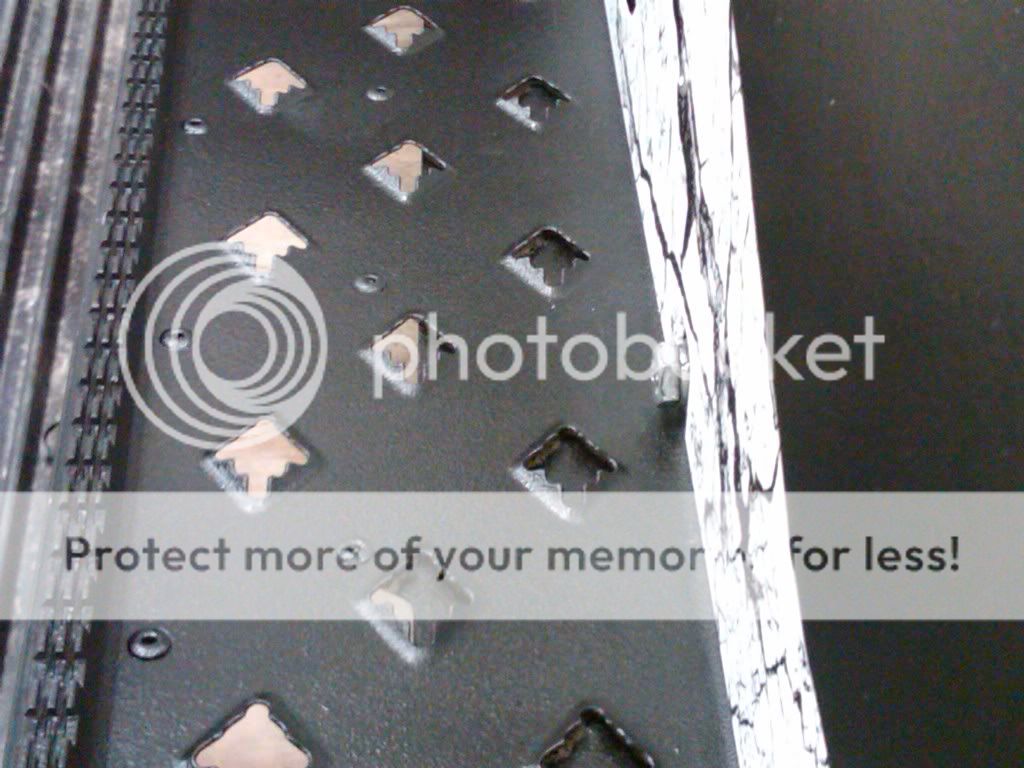
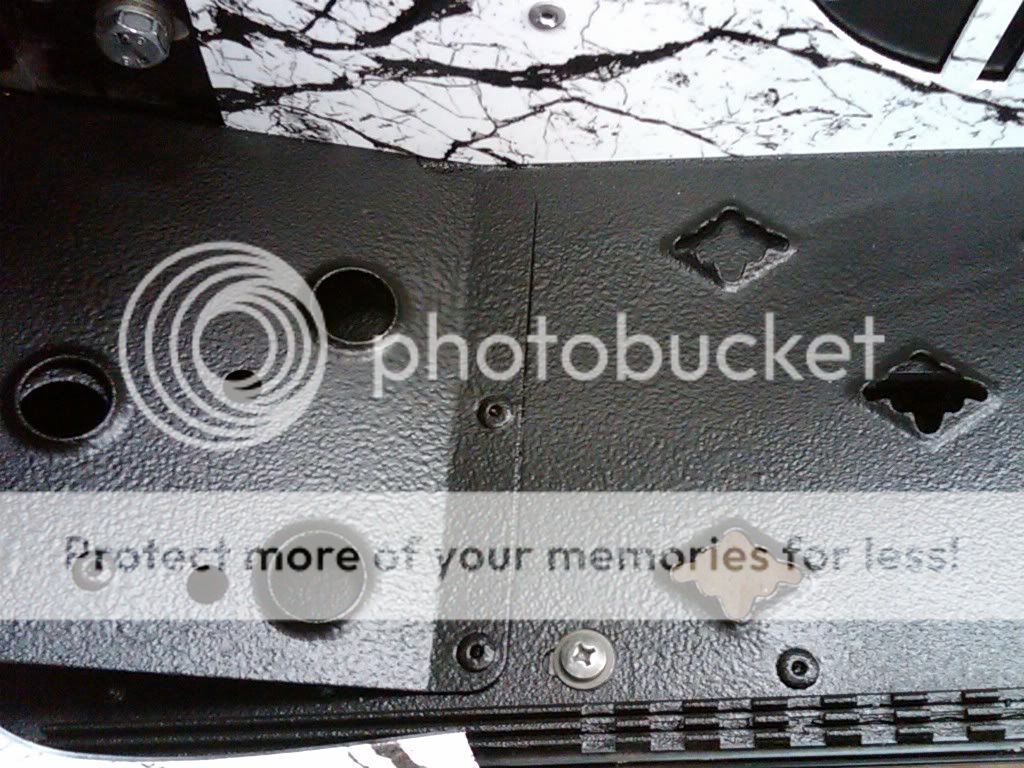
Next up was the vinyl dye, I have the RTX seat with the stripe in silver on the bottom, the vinyl dye is very easy and requires no prep just mask it off and make sure its clean:
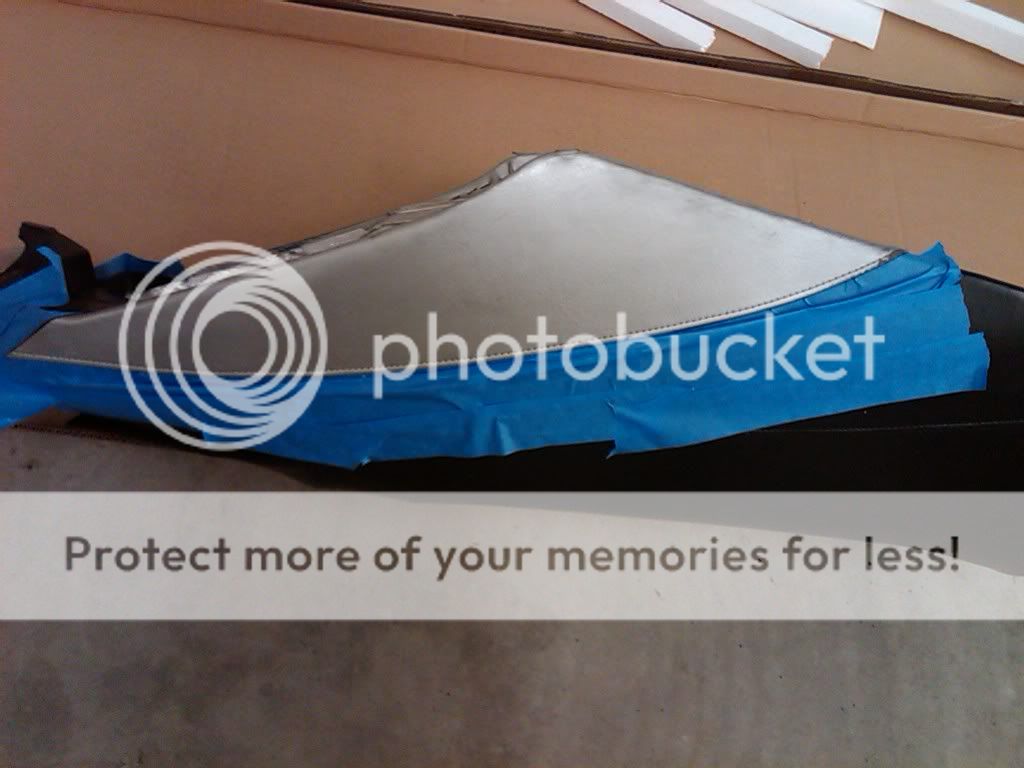
Spray on the dye (aerosol) and let dry overnight and you end up with this:
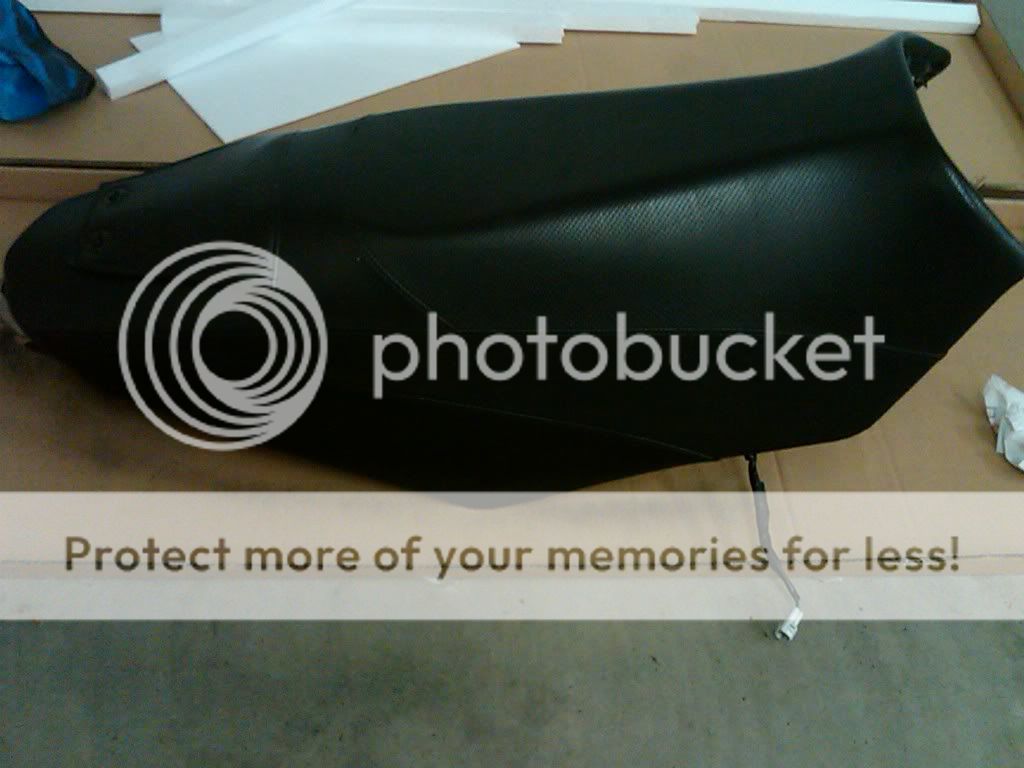
Boards and Seat DONE!
The black tunnel is my favorite part of the sled but it always looks so tacky with the worn off parts where you ride. So since you can get spray bed liner from duplicolor in a aerosol I decided to try that.
First you must rough up the board with 150 grit sand paper:


Then mask every thing off:

Give a light coat, then a med coat and let set about 10 minutes, it almost dries by then! I gave it 3-4 coats in the foort well where my boot rides and hope it holds! The finish on it turned out awesome I think!:


Next up was the vinyl dye, I have the RTX seat with the stripe in silver on the bottom, the vinyl dye is very easy and requires no prep just mask it off and make sure its clean:

Spray on the dye (aerosol) and let dry overnight and you end up with this:

Boards and Seat DONE!

kinger
VIP Member
- Joined
- Jan 17, 2005
- Messages
- 7,422
- Reaction score
- 1,556
- Points
- 1,963
- Location
- Clear Lake, IA
- Website
- www.piergenius.com
UPDATE: Sled is DONE DONE DONE
Here is the bling for 2010, thanks to Ulmer, snowpromod, SJ, and all the others that help me spur ideas and solutions to problems. This will be my last custom sled build for a long time. With a new baby and house my time can no longer be put to the sled. So I hope it lasts!
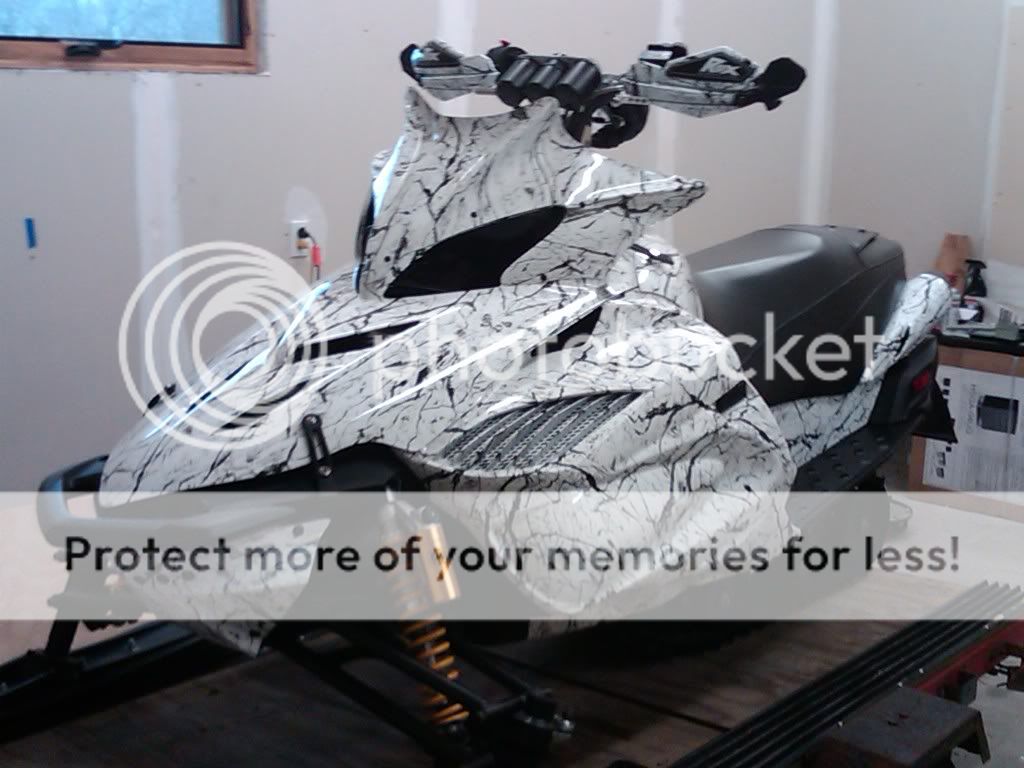
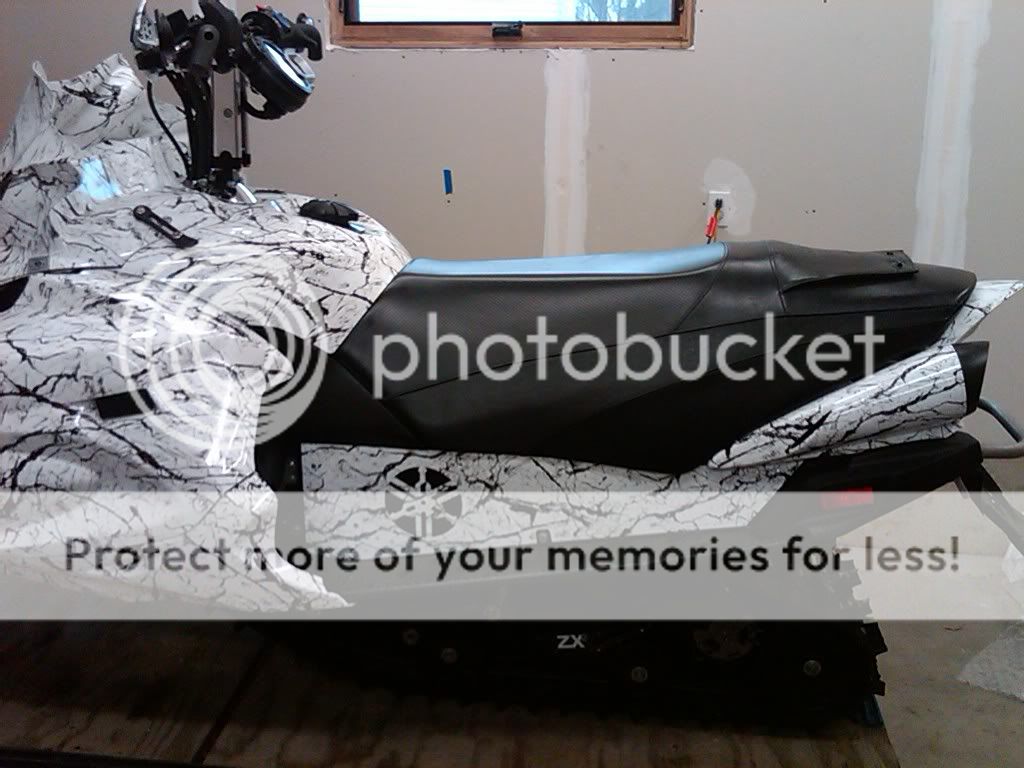
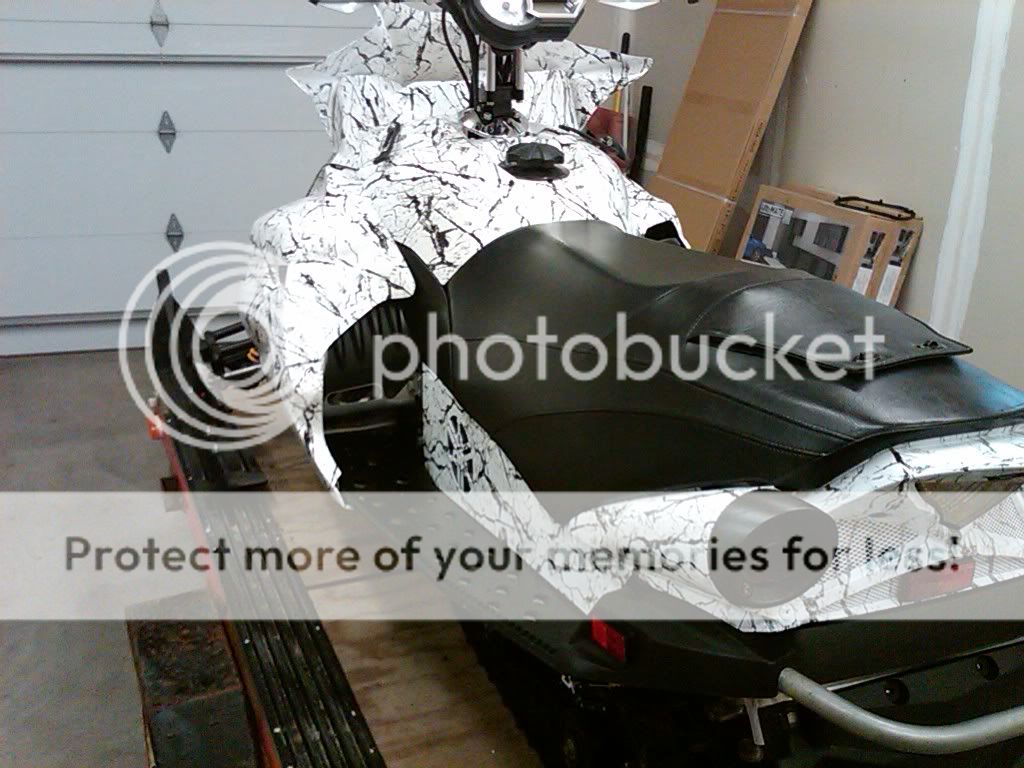
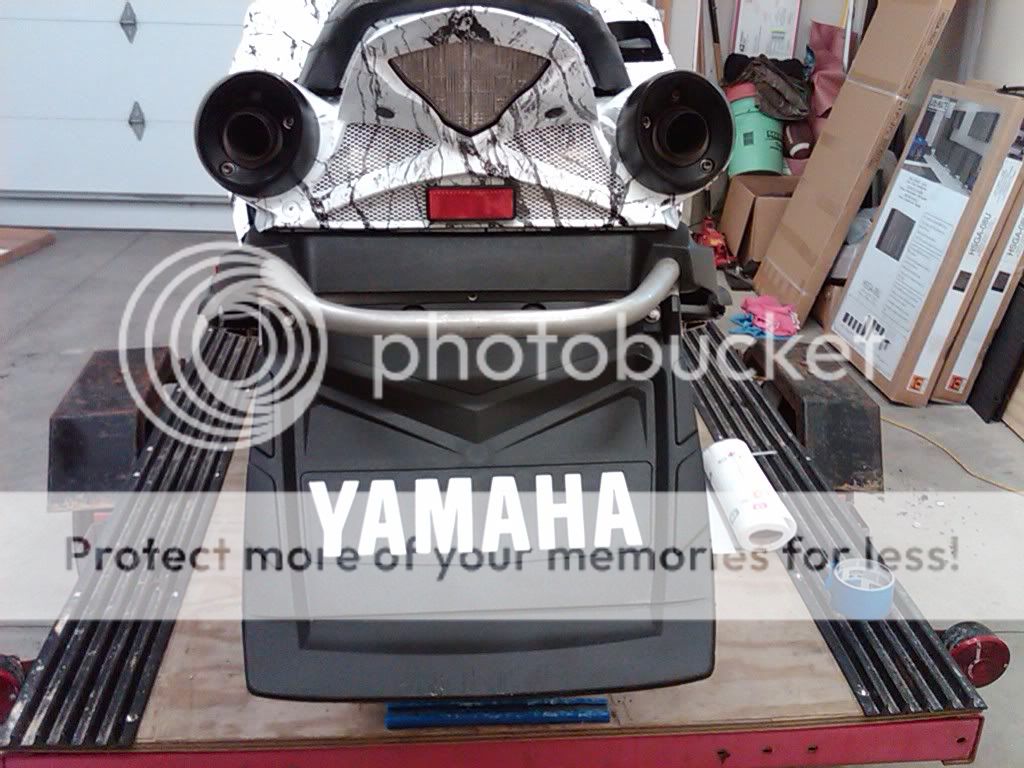
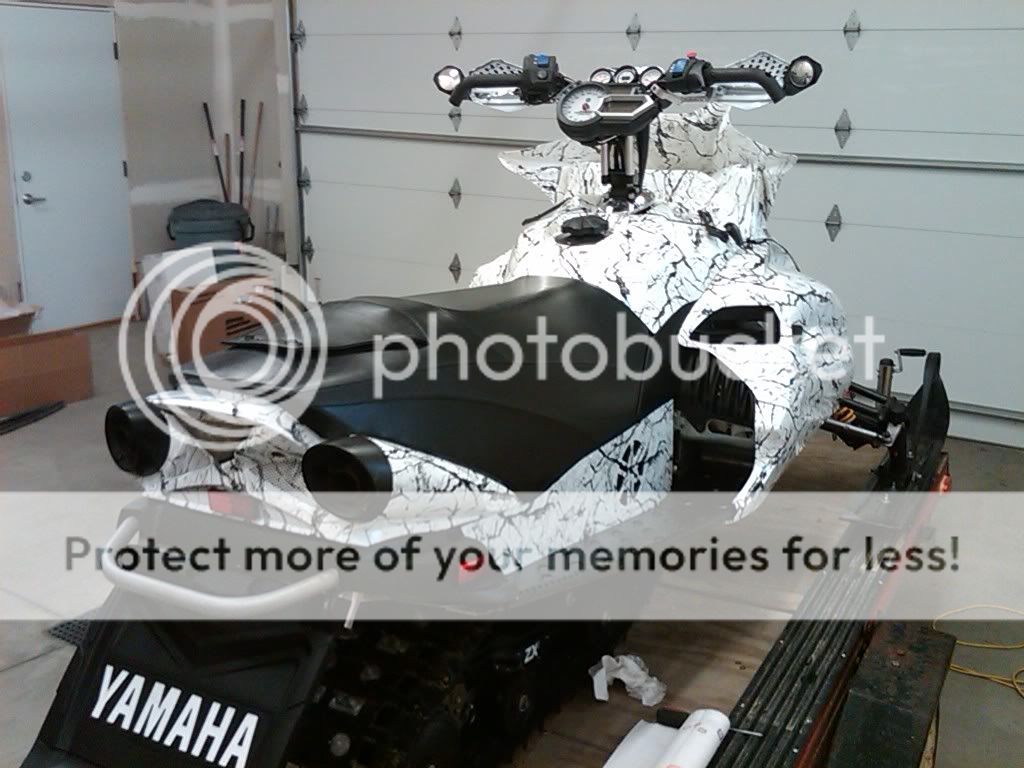
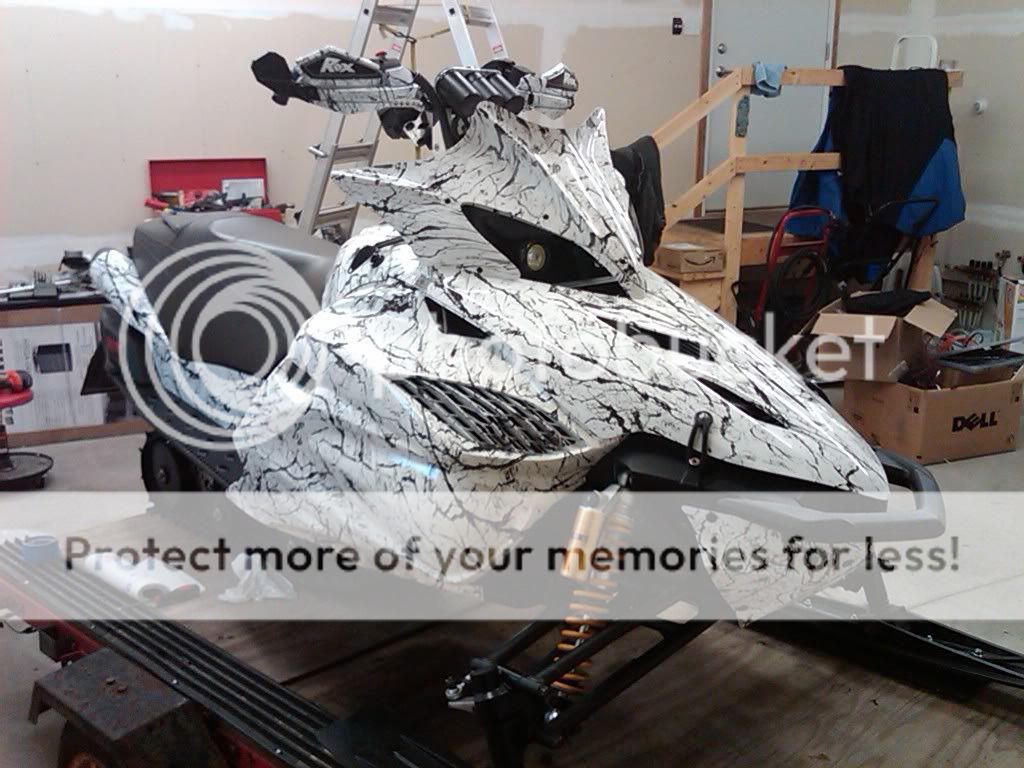
It was snowing all weekend once I finished I got it outside, matches the yamahauler LOL
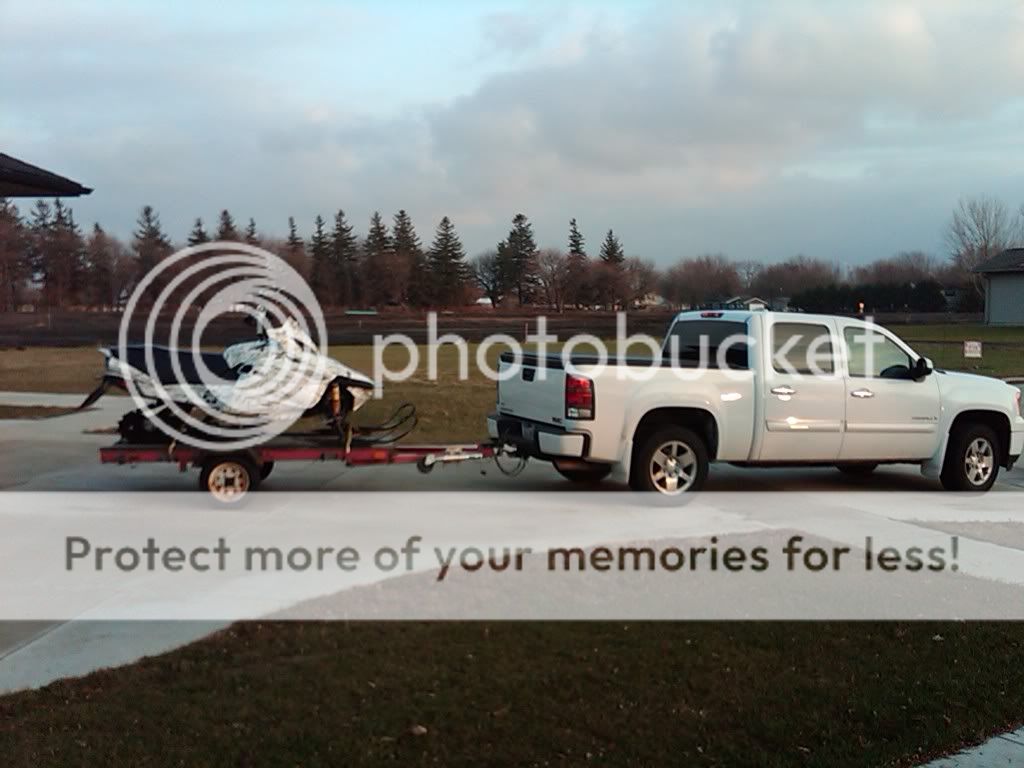
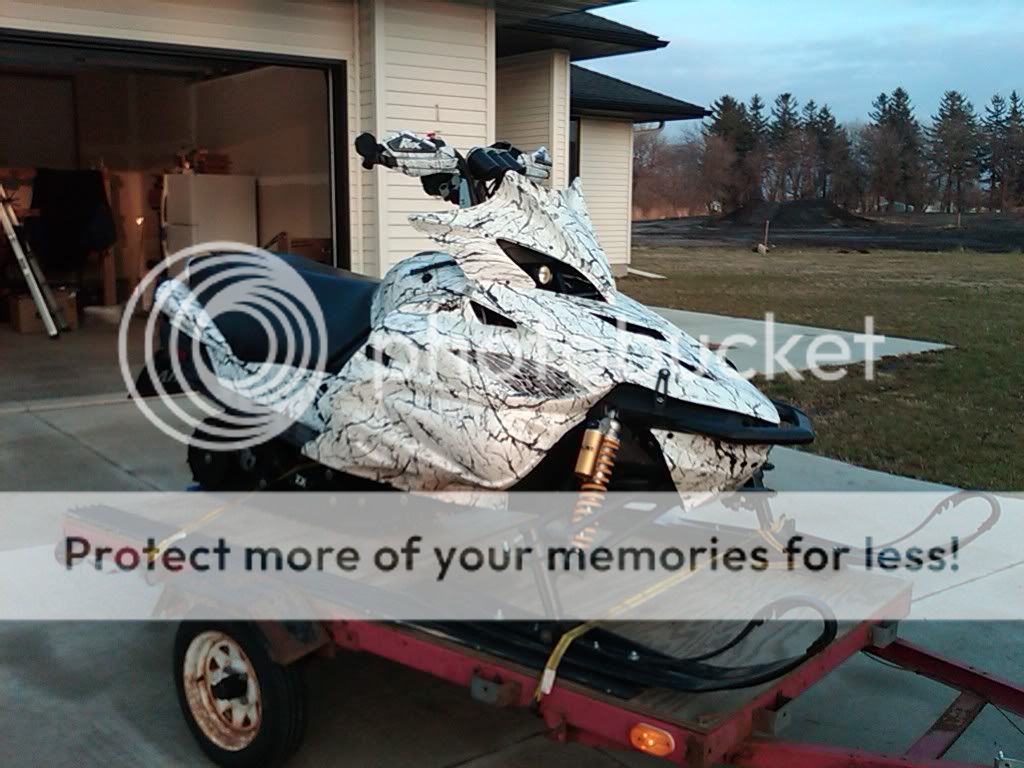
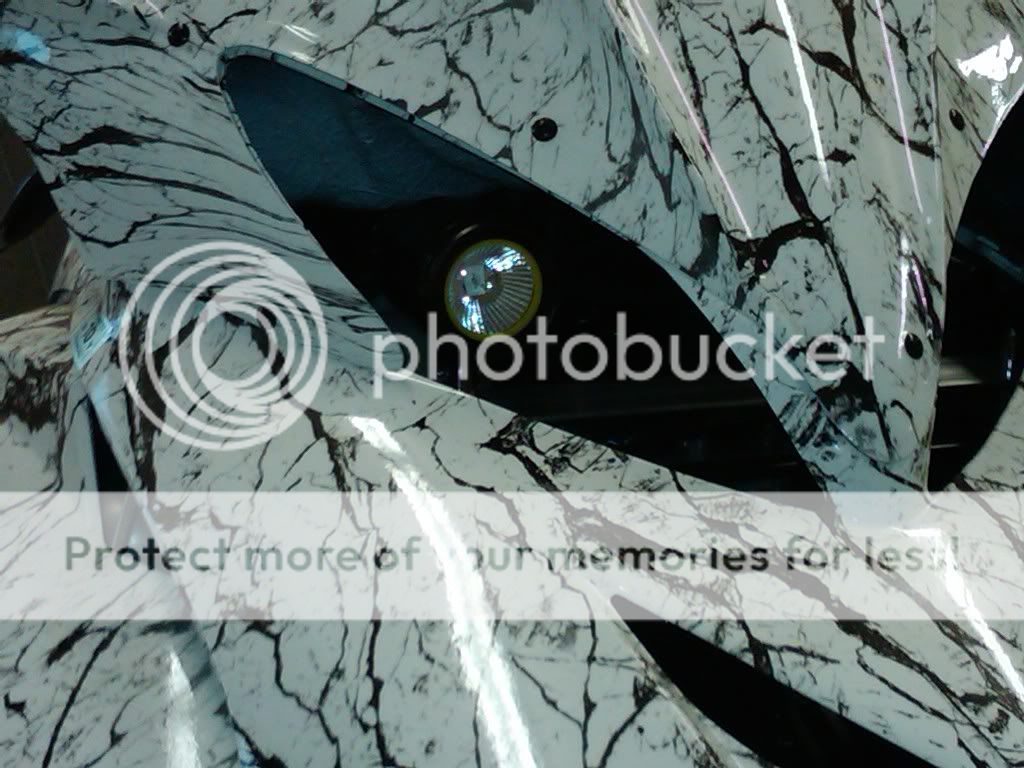
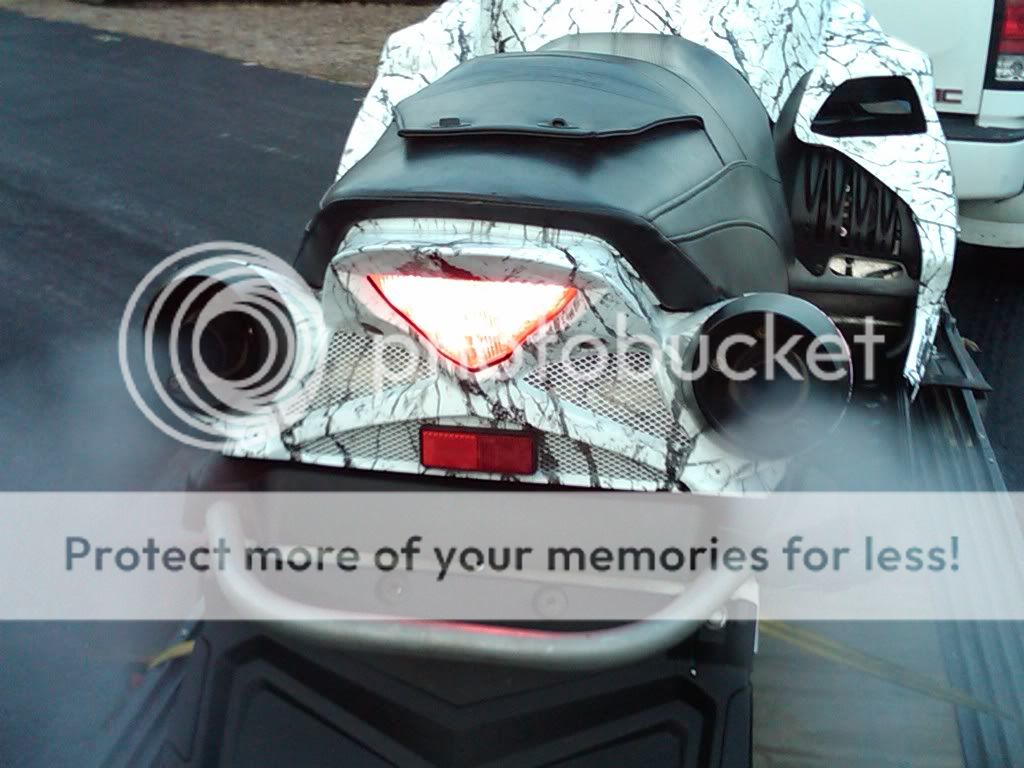
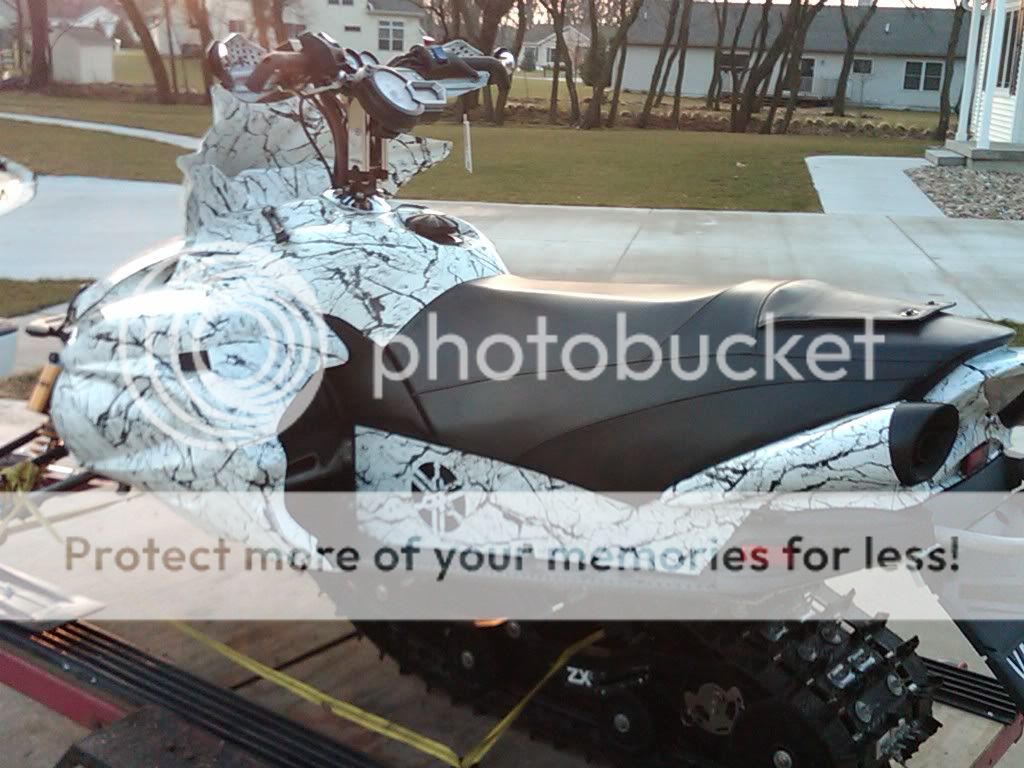

Here is the bling for 2010, thanks to Ulmer, snowpromod, SJ, and all the others that help me spur ideas and solutions to problems. This will be my last custom sled build for a long time. With a new baby and house my time can no longer be put to the sled. So I hope it lasts!


It was snowing all weekend once I finished I got it outside, matches the yamahauler LOL


SledFreak
TY 4 Stroke God
- Joined
- Feb 7, 2005
- Messages
- 5,511
- Reaction score
- 466
- Points
- 1,733
- Location
- Ontario. Canada
- Country
- Canada
- Snowmobile
- Current 2020 ThunderCat. - SOLD!
I hope you pull it with a cover on it? That should be in a closed trailer?

kinger
VIP Member
- Joined
- Jan 17, 2005
- Messages
- 7,422
- Reaction score
- 1,556
- Points
- 1,963
- Location
- Clear Lake, IA
- Website
- www.piergenius.com
Shed is only a mile away so it went as is. I have a nice skinz cover for it but it usually rides in a covered trailer going on trips.
Irv
TY 4 Stroke God
- Joined
- Mar 23, 2005
- Messages
- 3,778
- Reaction score
- 44
- Points
- 1,233
- Location
- ONT. Canada
- Country
- Canada
- Snowmobile
- 2008 40th Anniversary Vector.
1995 XLT SP (Son's)
SledFreak said:I hope you pull it with a cover on it? That should be in a closed trailer?
X2!!
Awesome job Kinger, that is one sic looking sled you have built there

Similar threads
- Replies
- 6
- Views
- 5K
- Replies
- 5
- Views
- 1K
-
This site uses cookies to help personalise content, tailor your experience and to keep you logged in if you register.
By continuing to use this site, you are consenting to our use of cookies.
